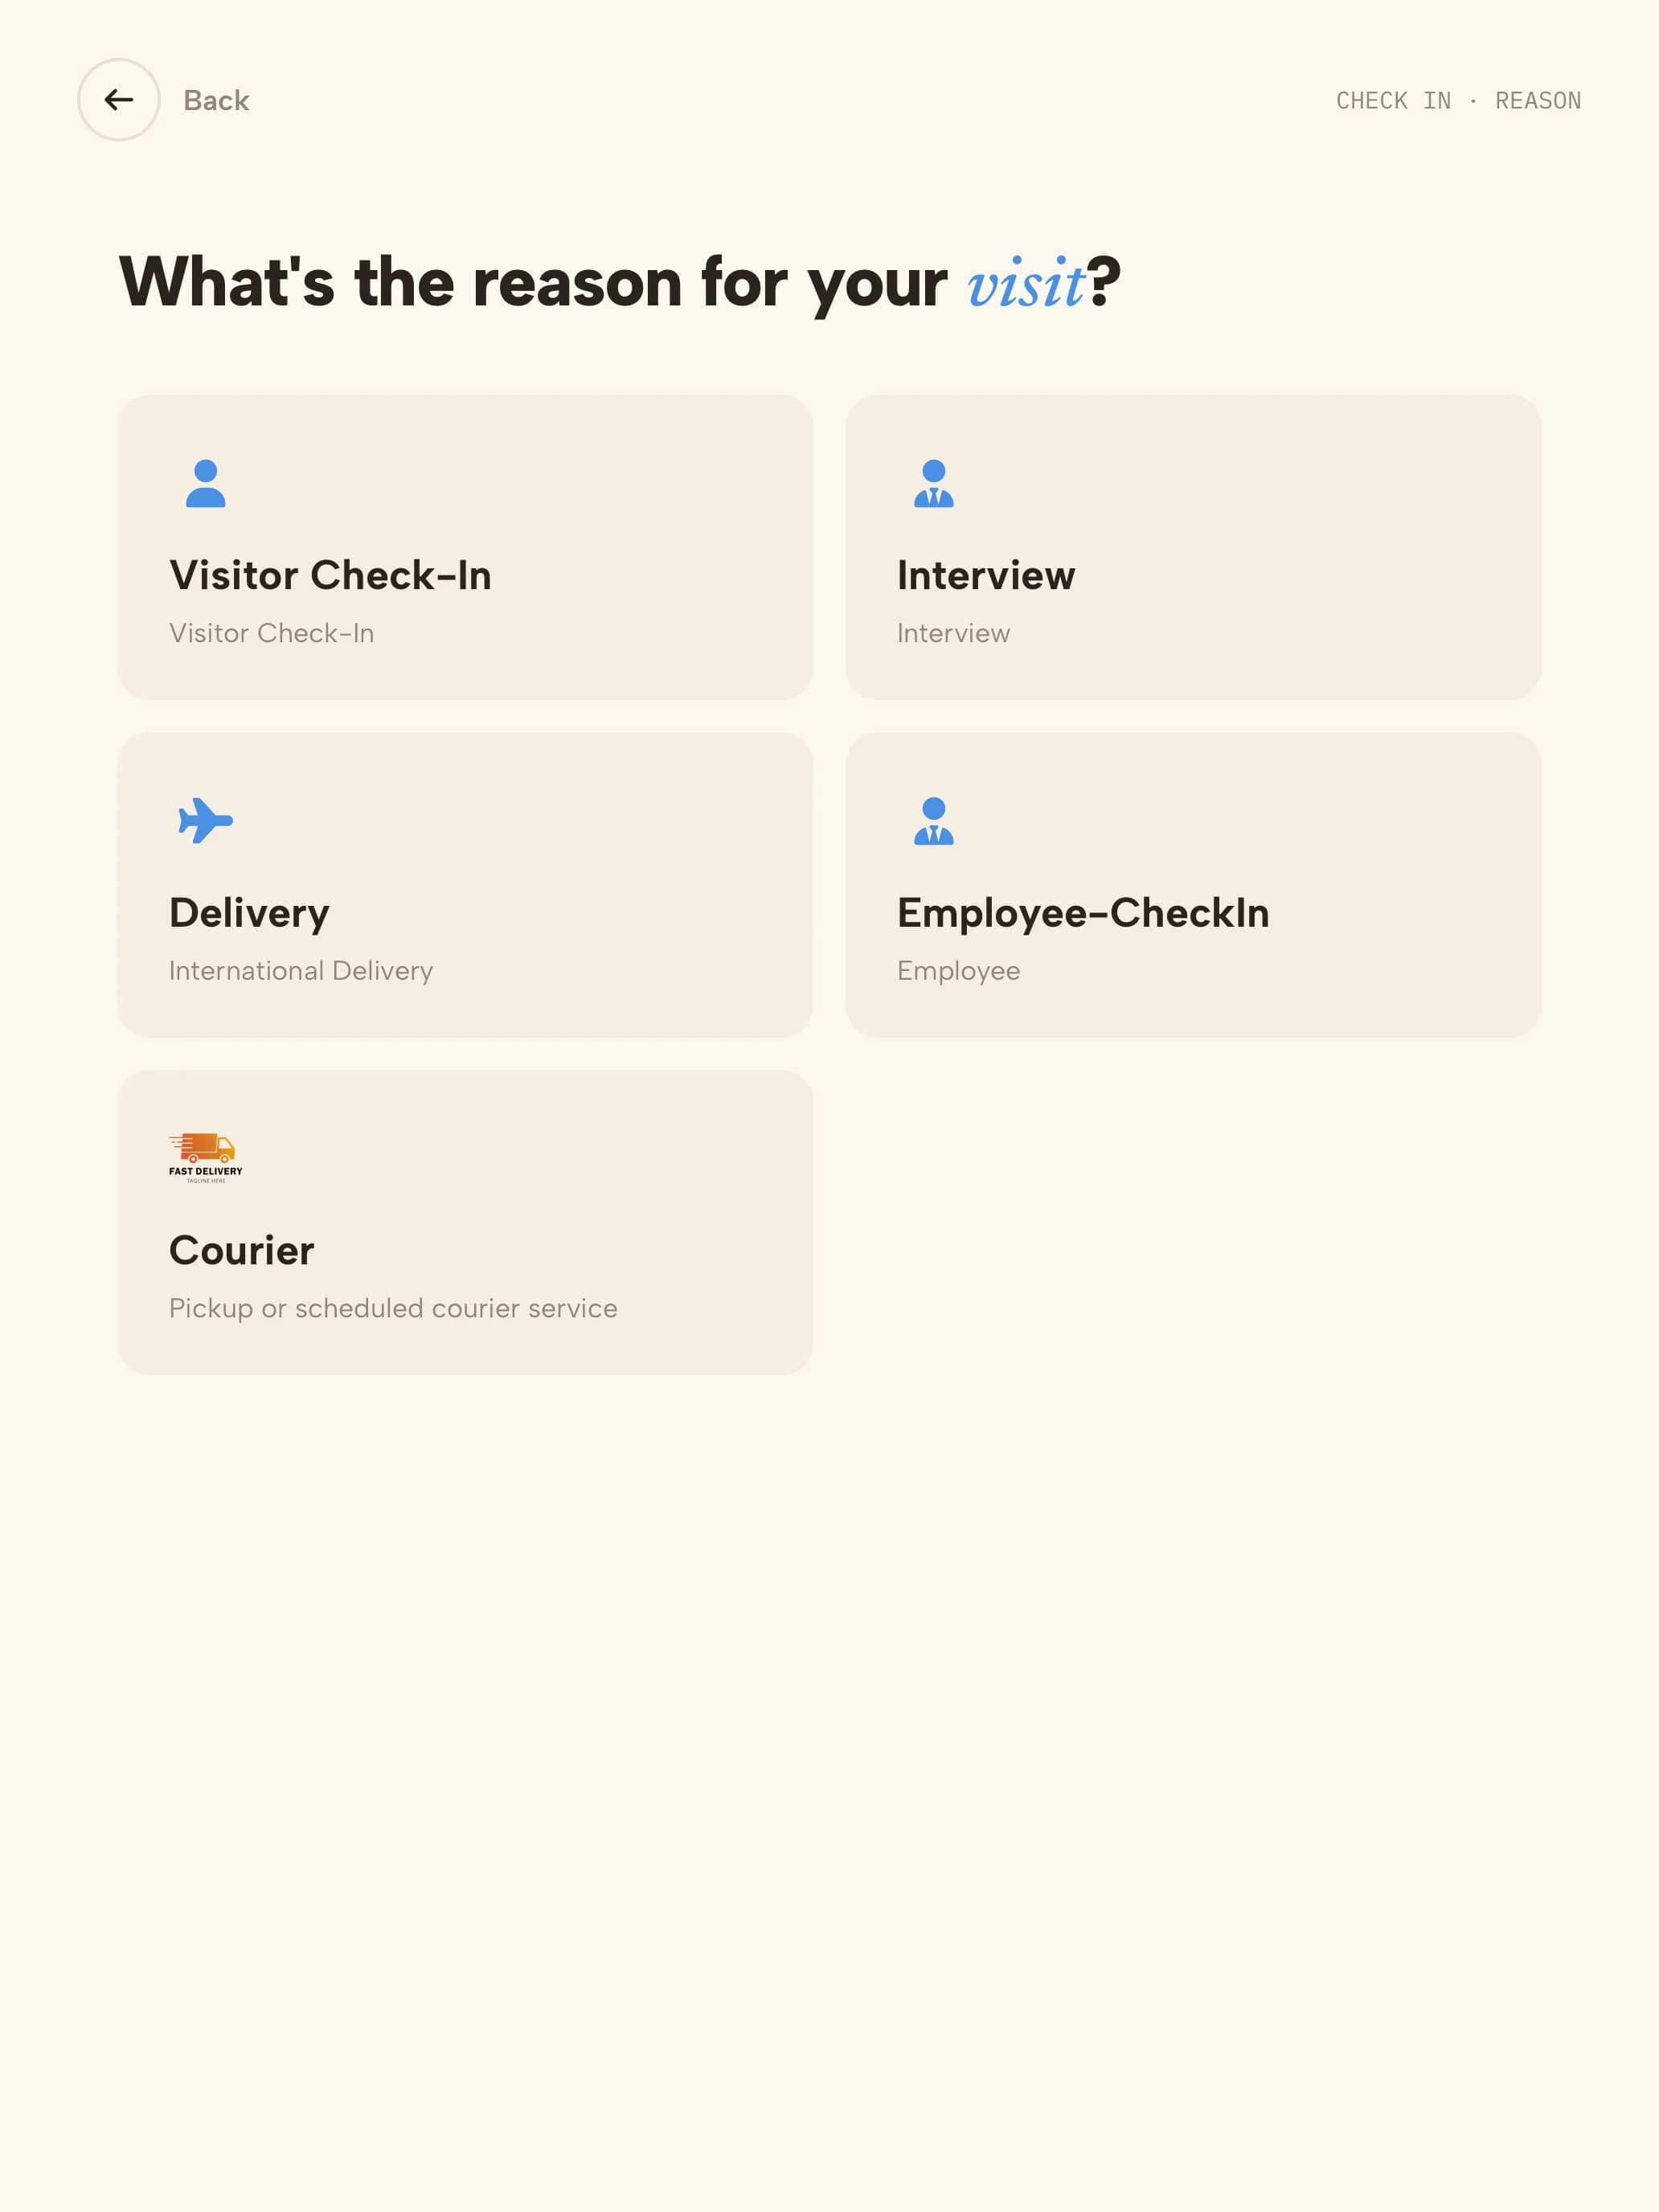
Visitor types are the buttons visitors choose on the kiosk — for example Visitor Check-In, Interview, Delivery or Employee.
1
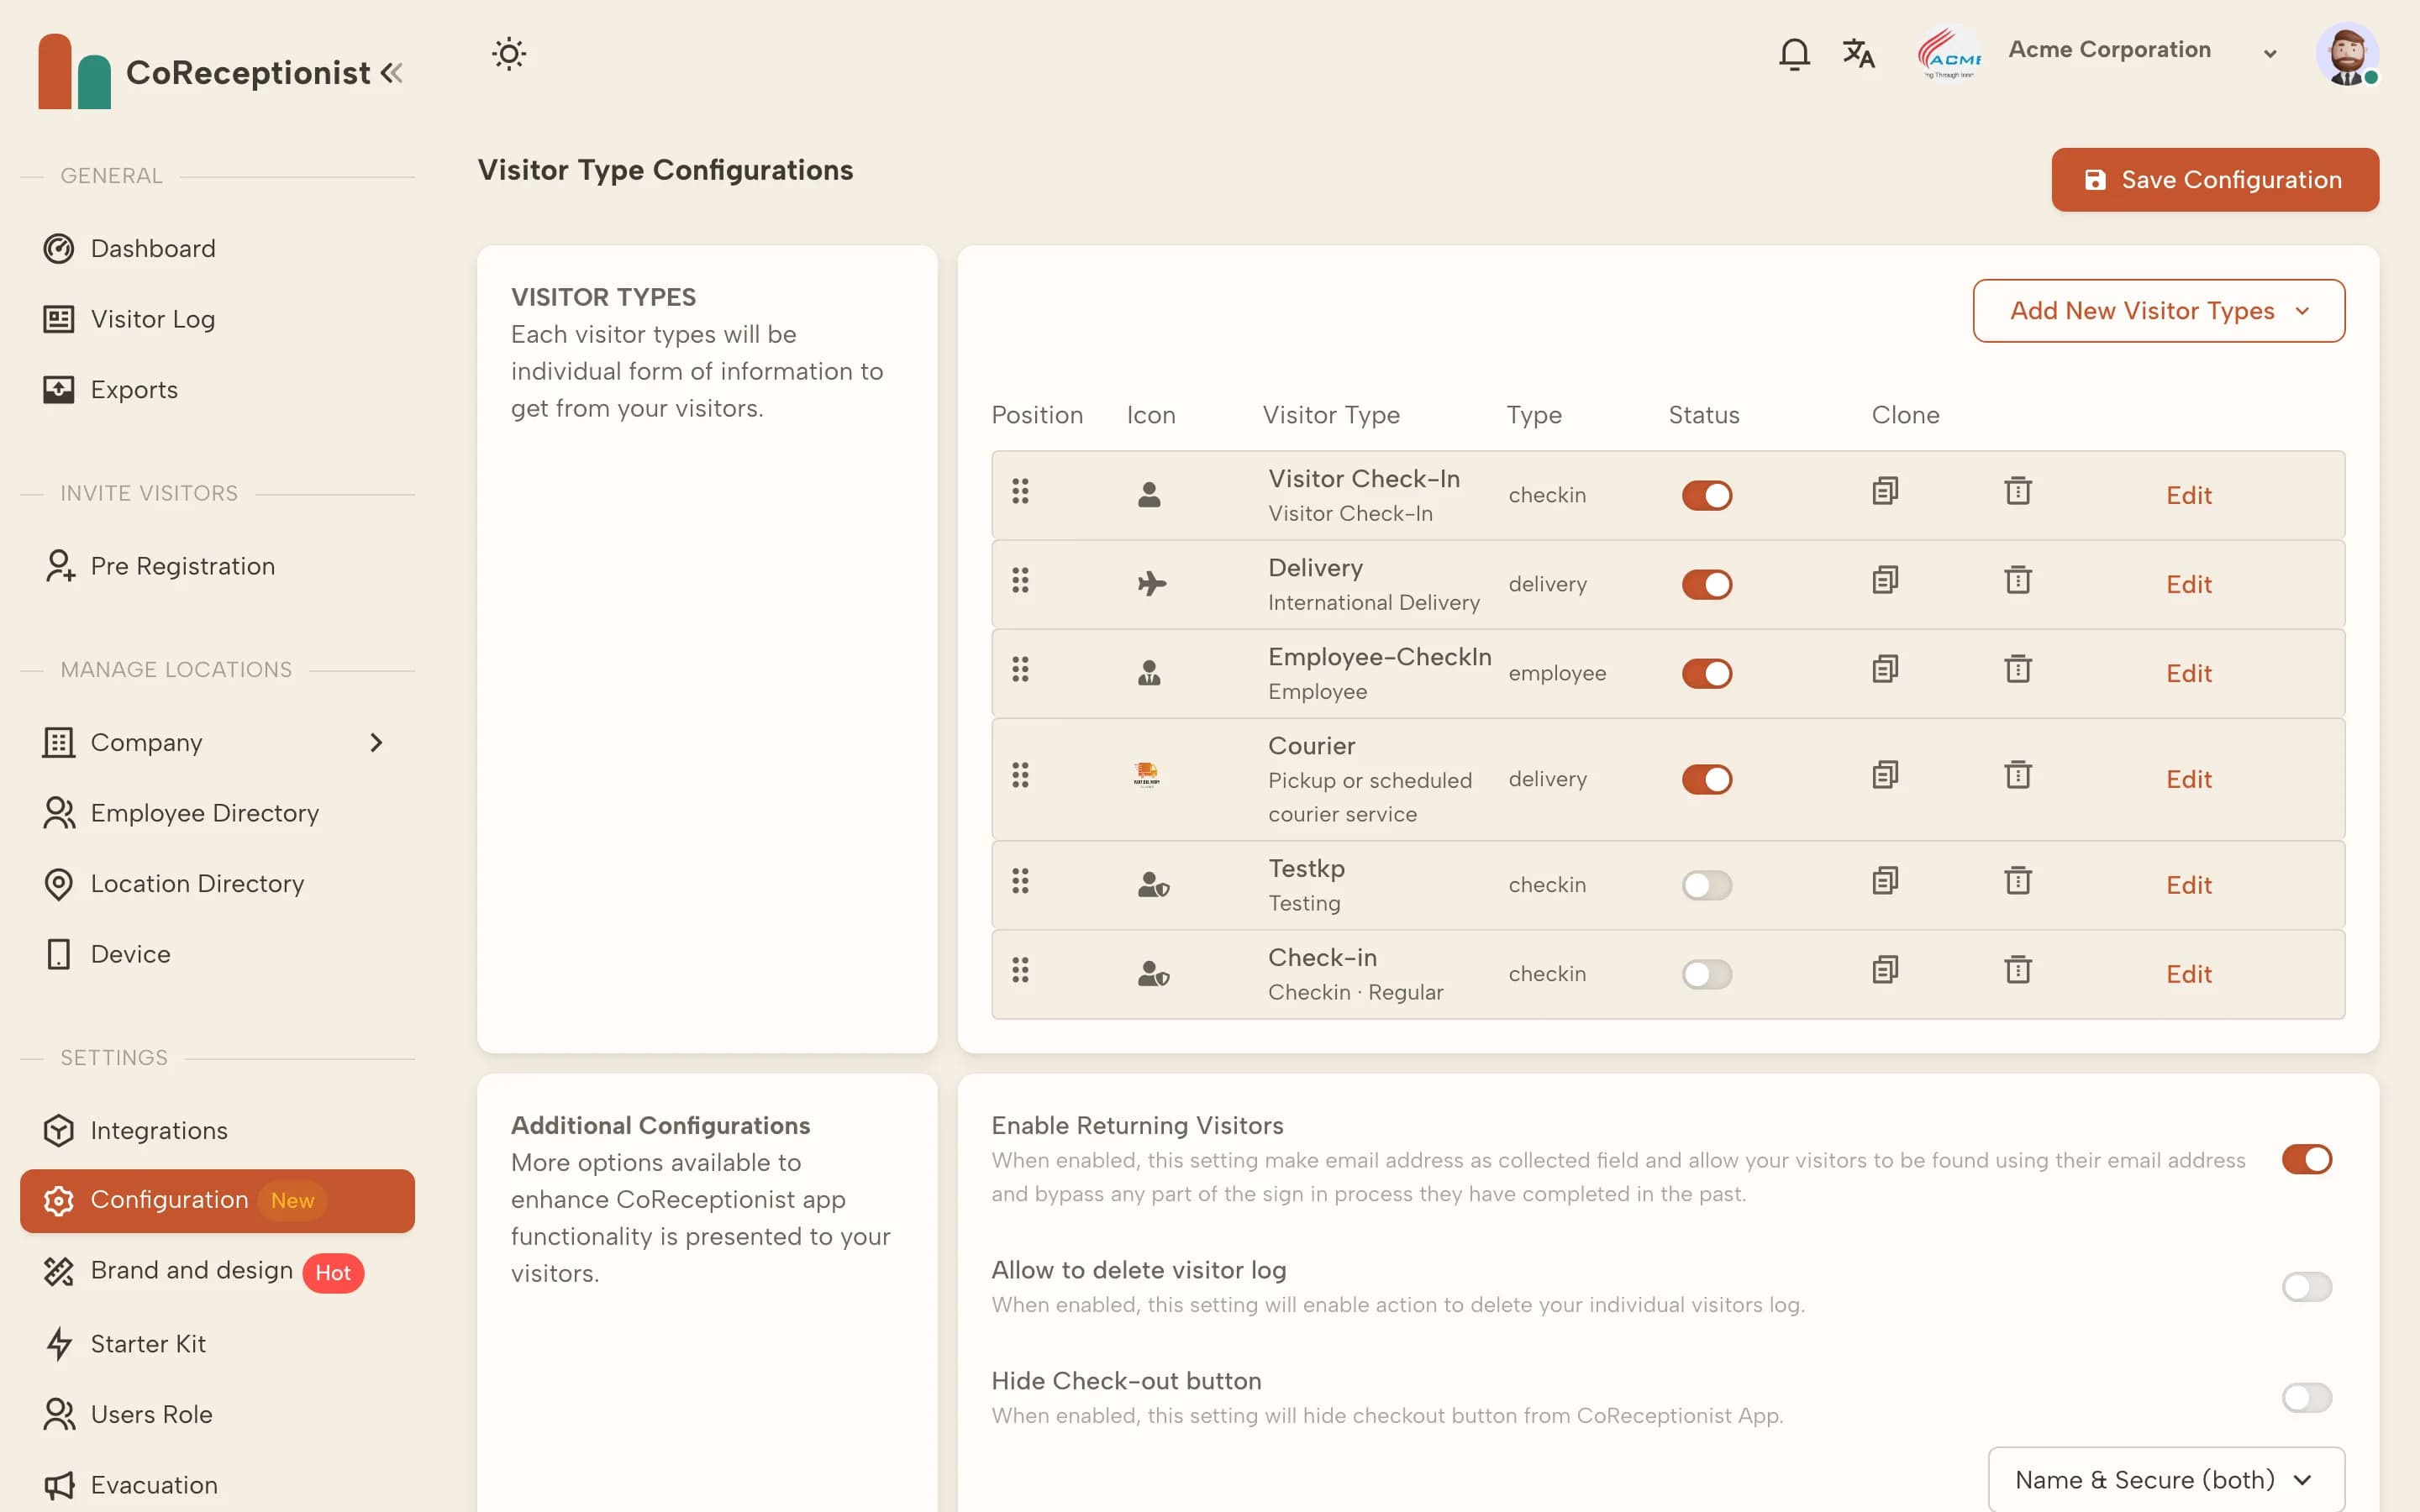
Open ConfigurationThe Visitor Type Configurations list shows every type with its position, icon and status. Drag to reorder, toggle Status to show or hide a type on the kiosk, or Clone one to start a new type.
2
Add or edit a typeChoose Add New Visitor Types (Check in, Delivery or Employee) or Edit an existing one. Set the title and subtitle visitors see and pick an icon.
3
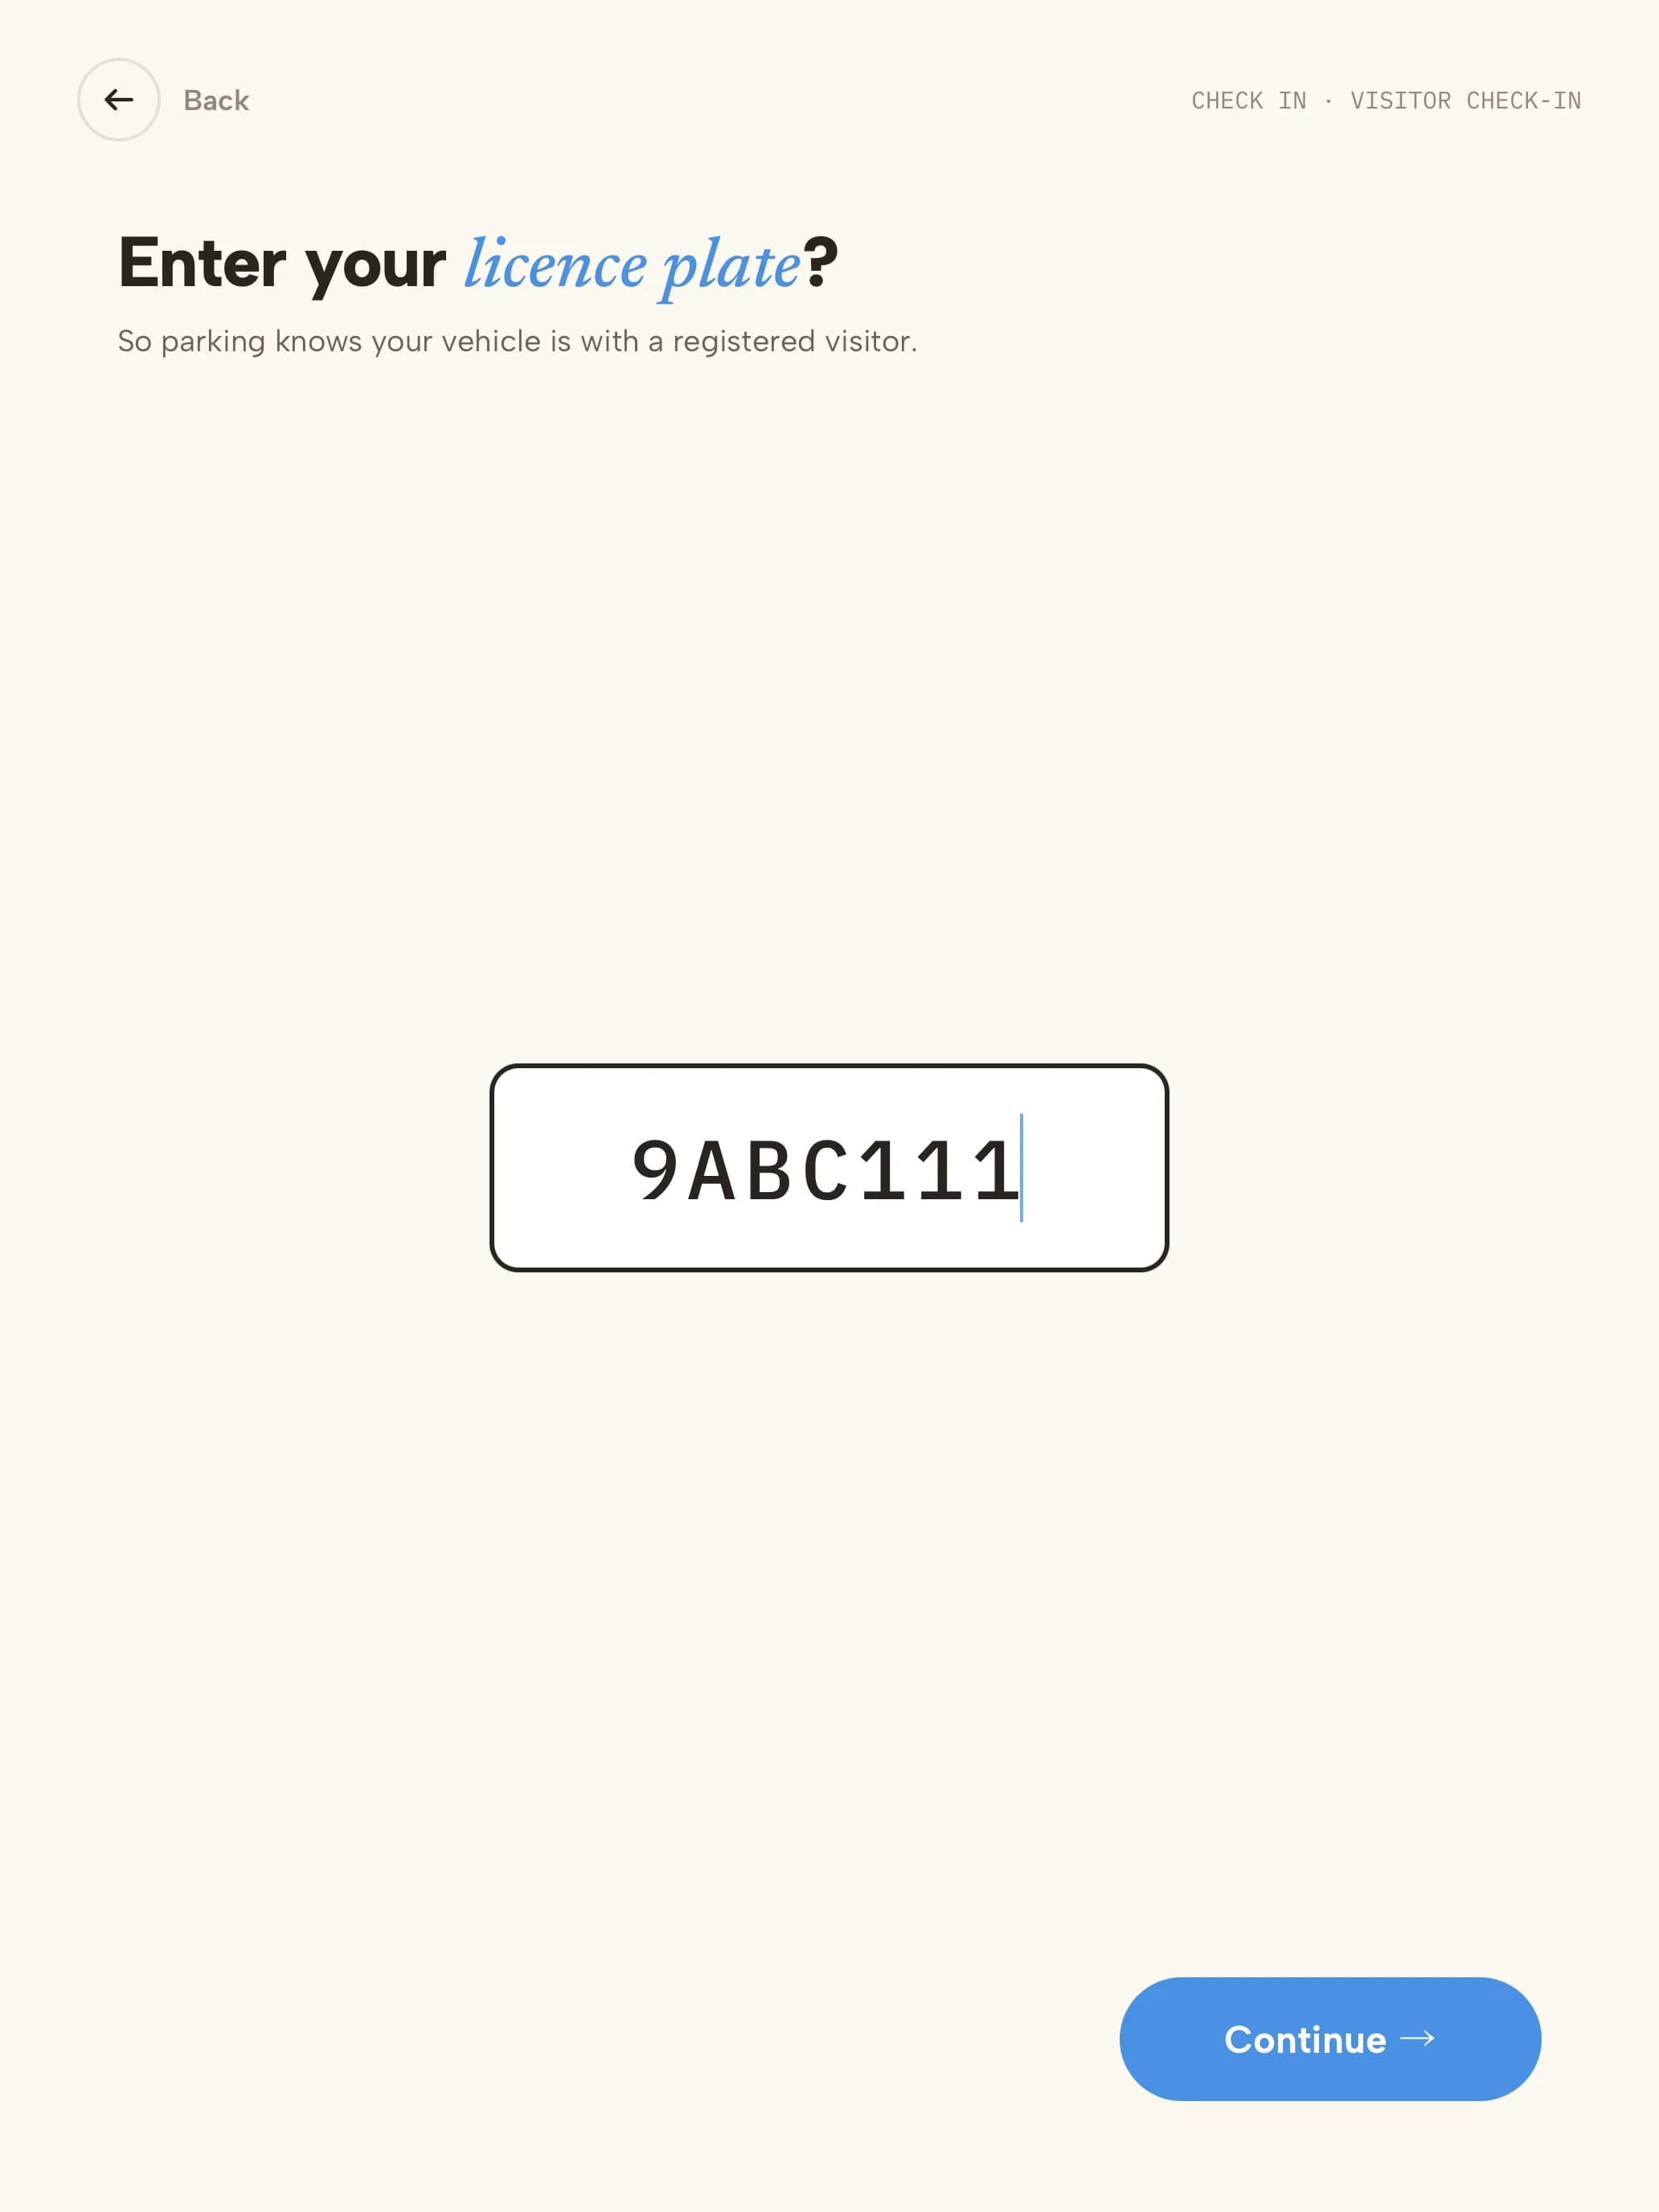
Build the sign-in formUnder Sign-in form configurations, add the fields you need: name, business name, email, phone, text, number, yes/no, single or multiple choice, date and time, temperature, licence plate, ID card capture and citizenship.
4
Turn steps on or offPer type, choose whether visitors pick a host (and whether it's mandatory), sign an NDA, take a photo, sign in as a group, see their visitor code and print a badge. You can also replace the Thank You screen title and message.
5
Check it on the kioskChanges reach kiosks on their next sync — use Device sync in the kiosk admin screens to apply them now.
TIPAdditional Configurations on the same page control kiosk-wide options: returning visitors, quick sign-in, touchless entry, the check-out mode and nightly auto check-out.