The dashboard's Starter Kit walks you through the same steps. Most teams finish in under an hour.
1
Complete your company profileIn the dashboard, open Company and check your company name, address, timezone and date and time format. Every kiosk and visitor log uses these settings.
2
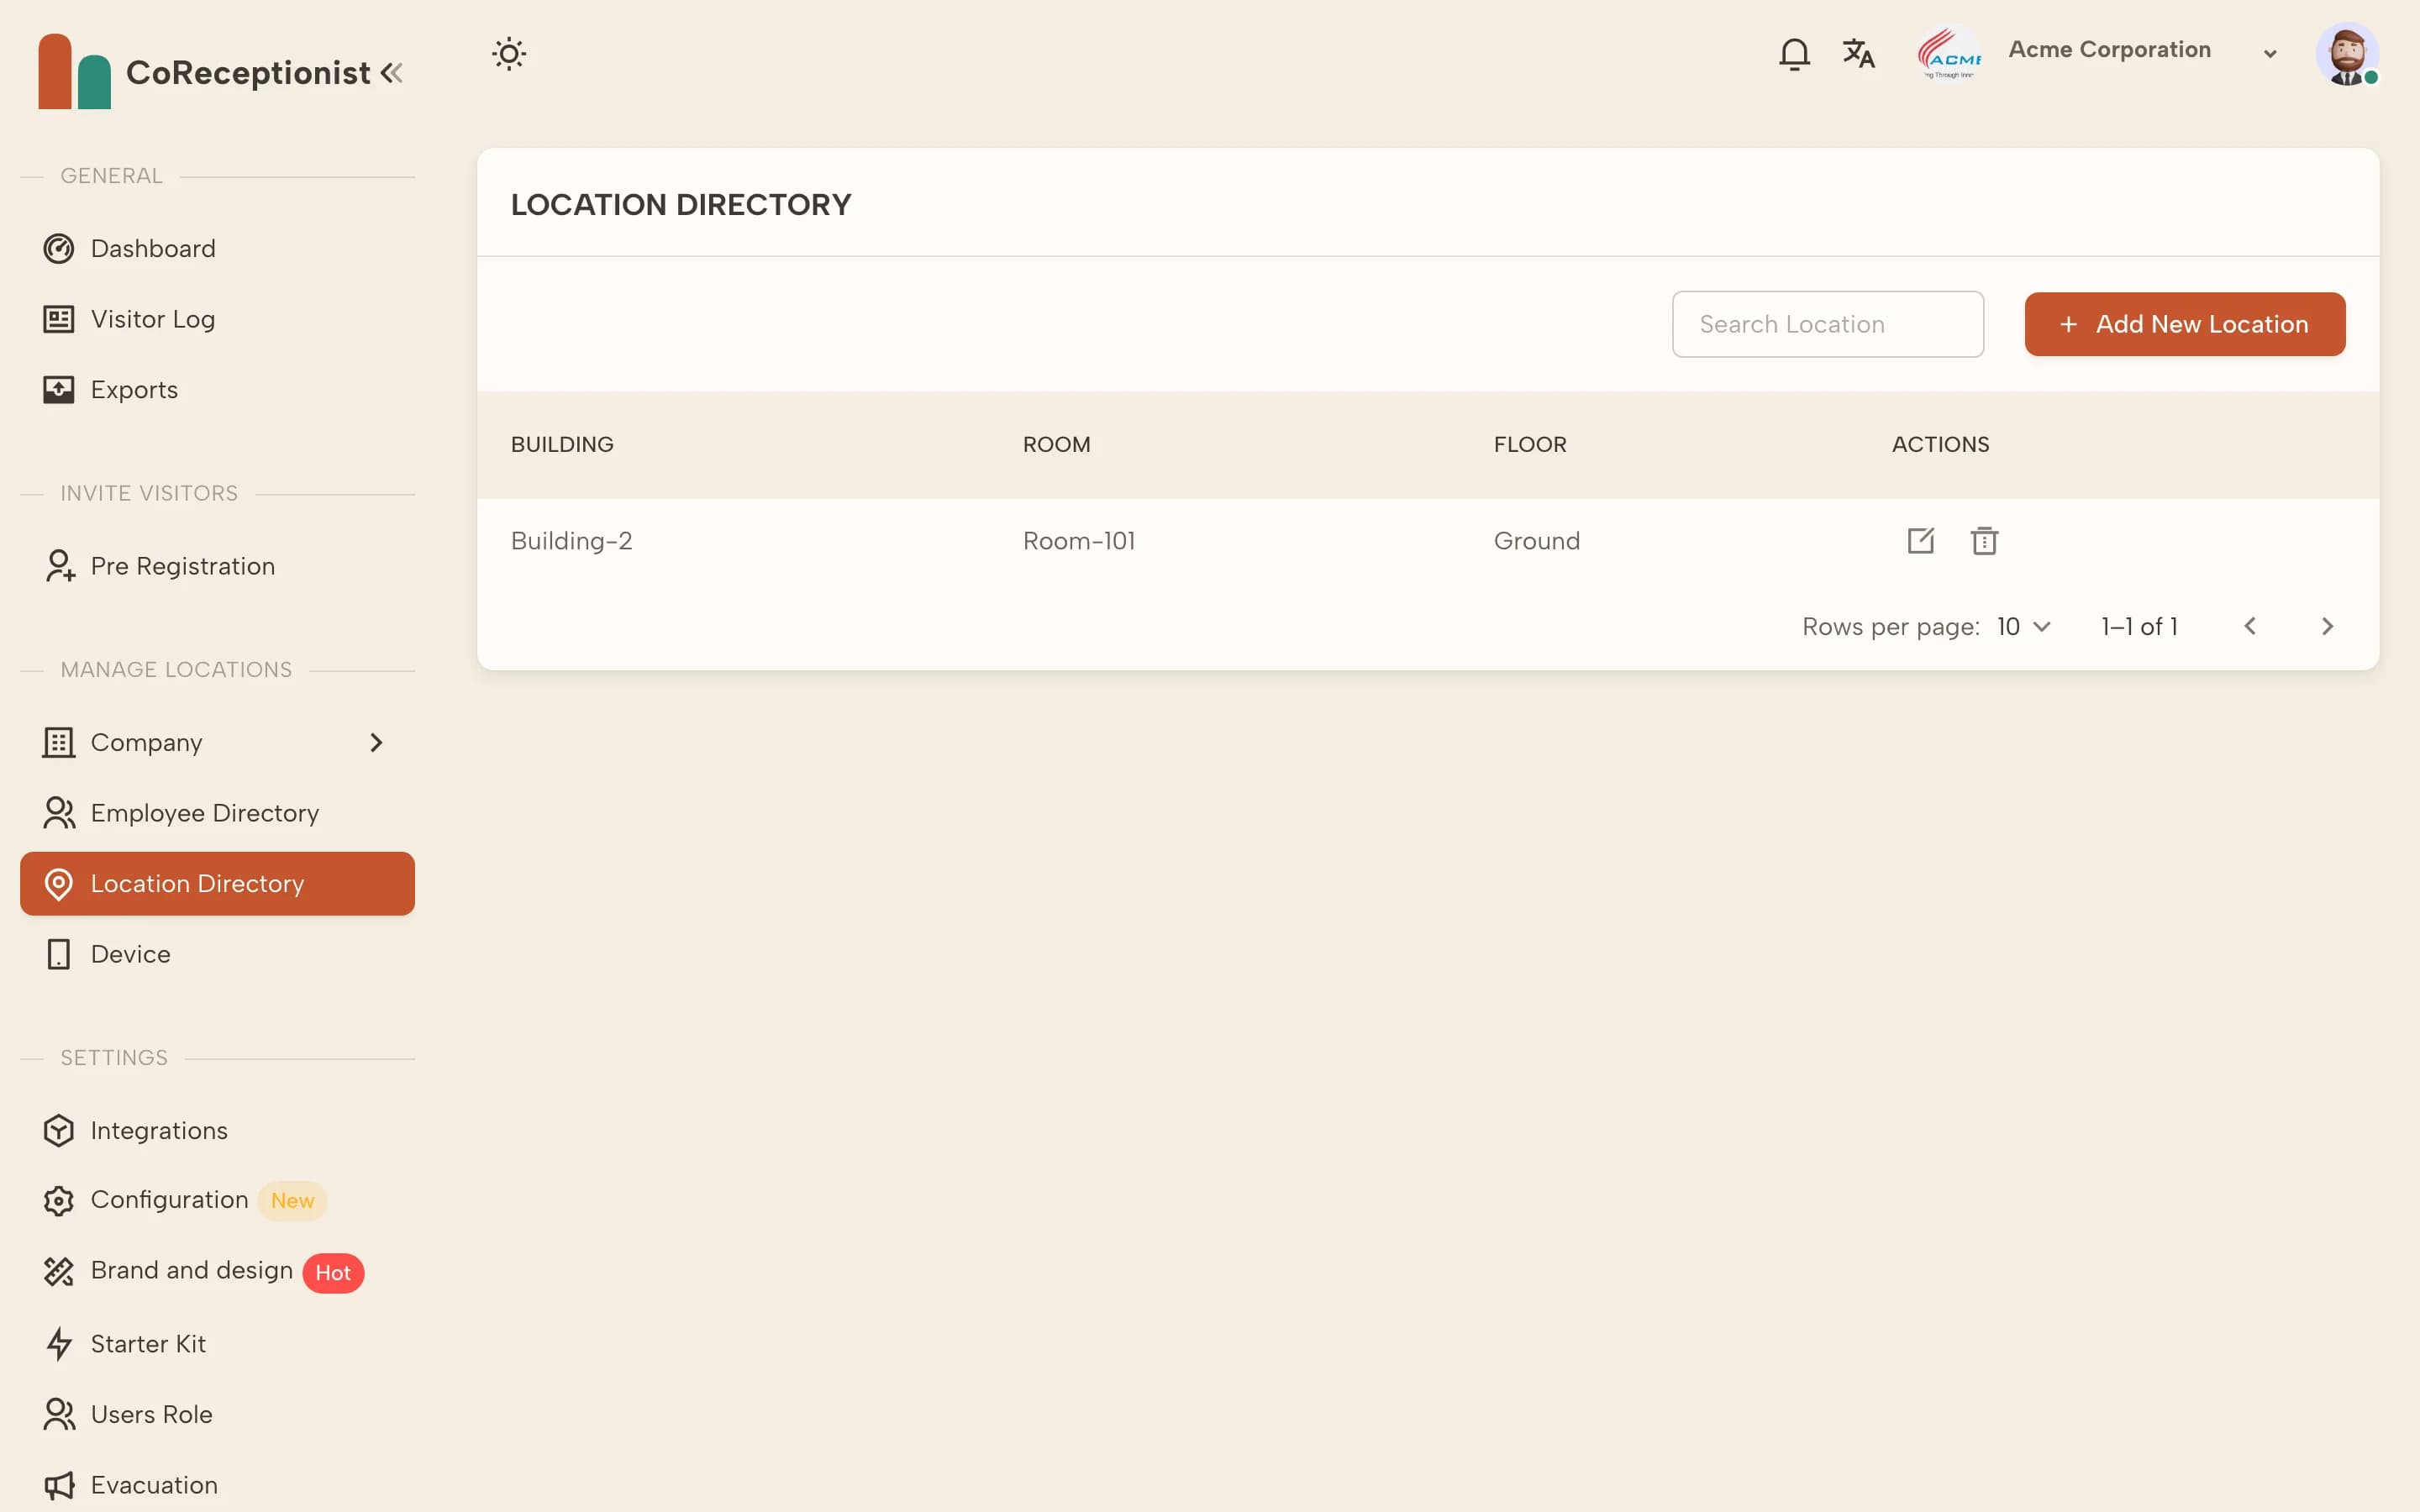
Add where visitors arriveOpen Location Directory and add at least one entry — a building, floor and room. Kiosks are paired to a location.
3
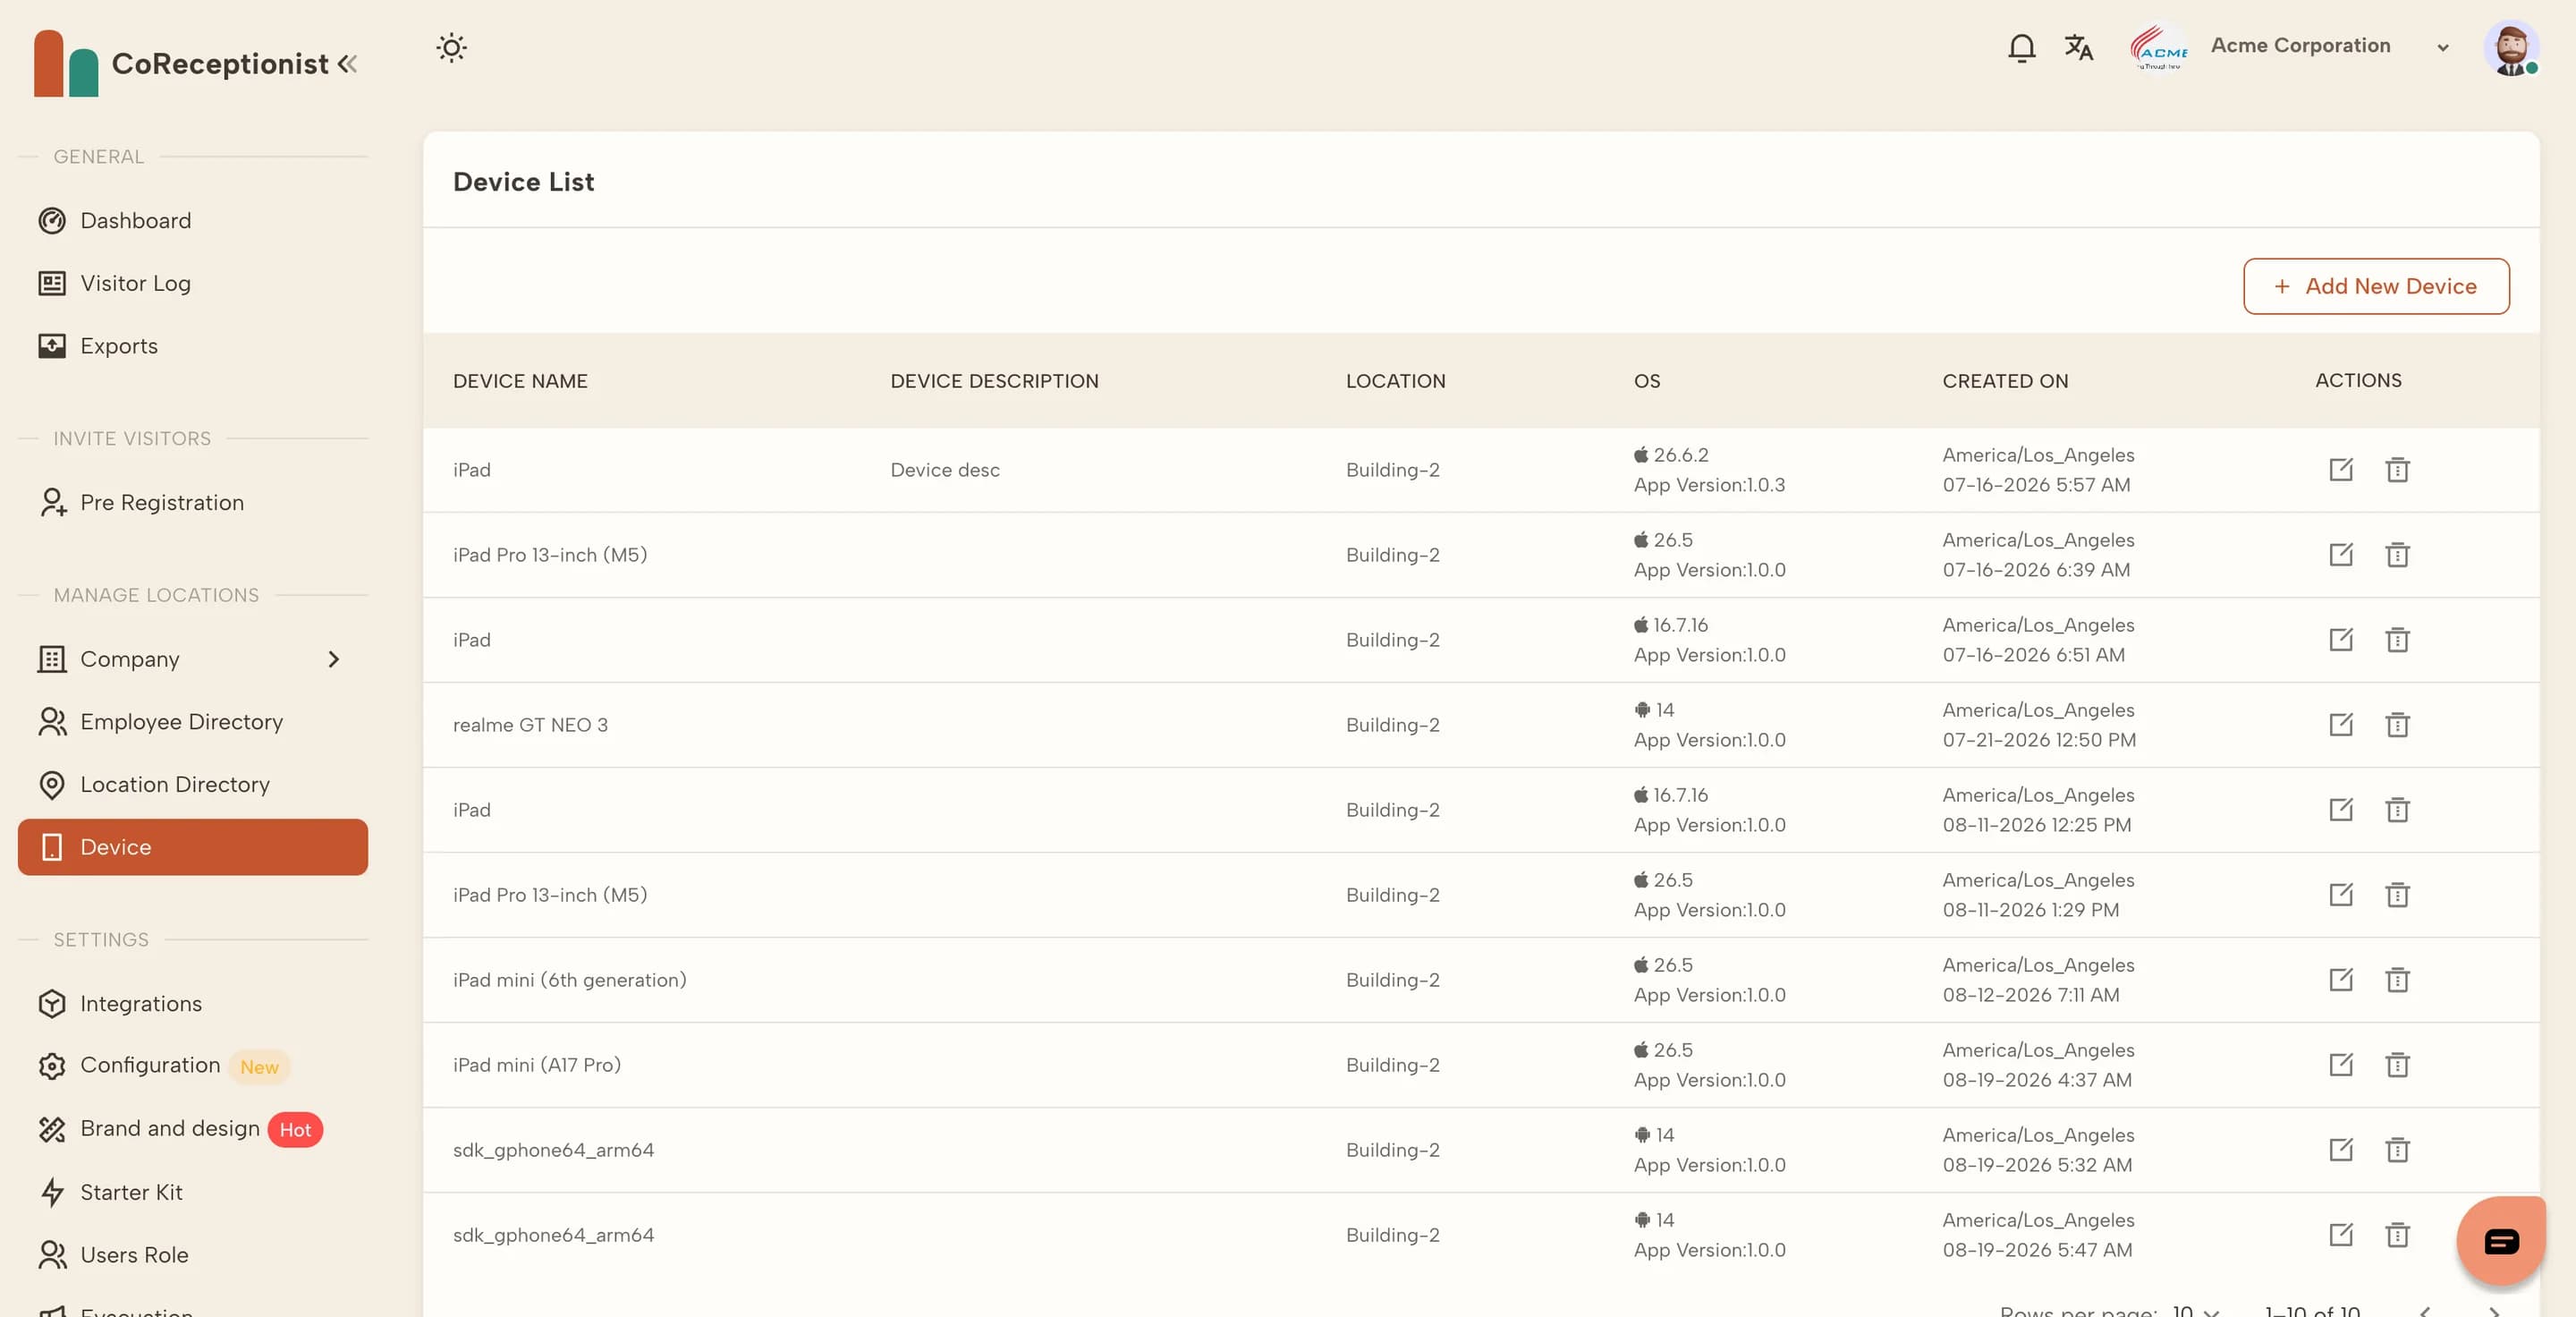
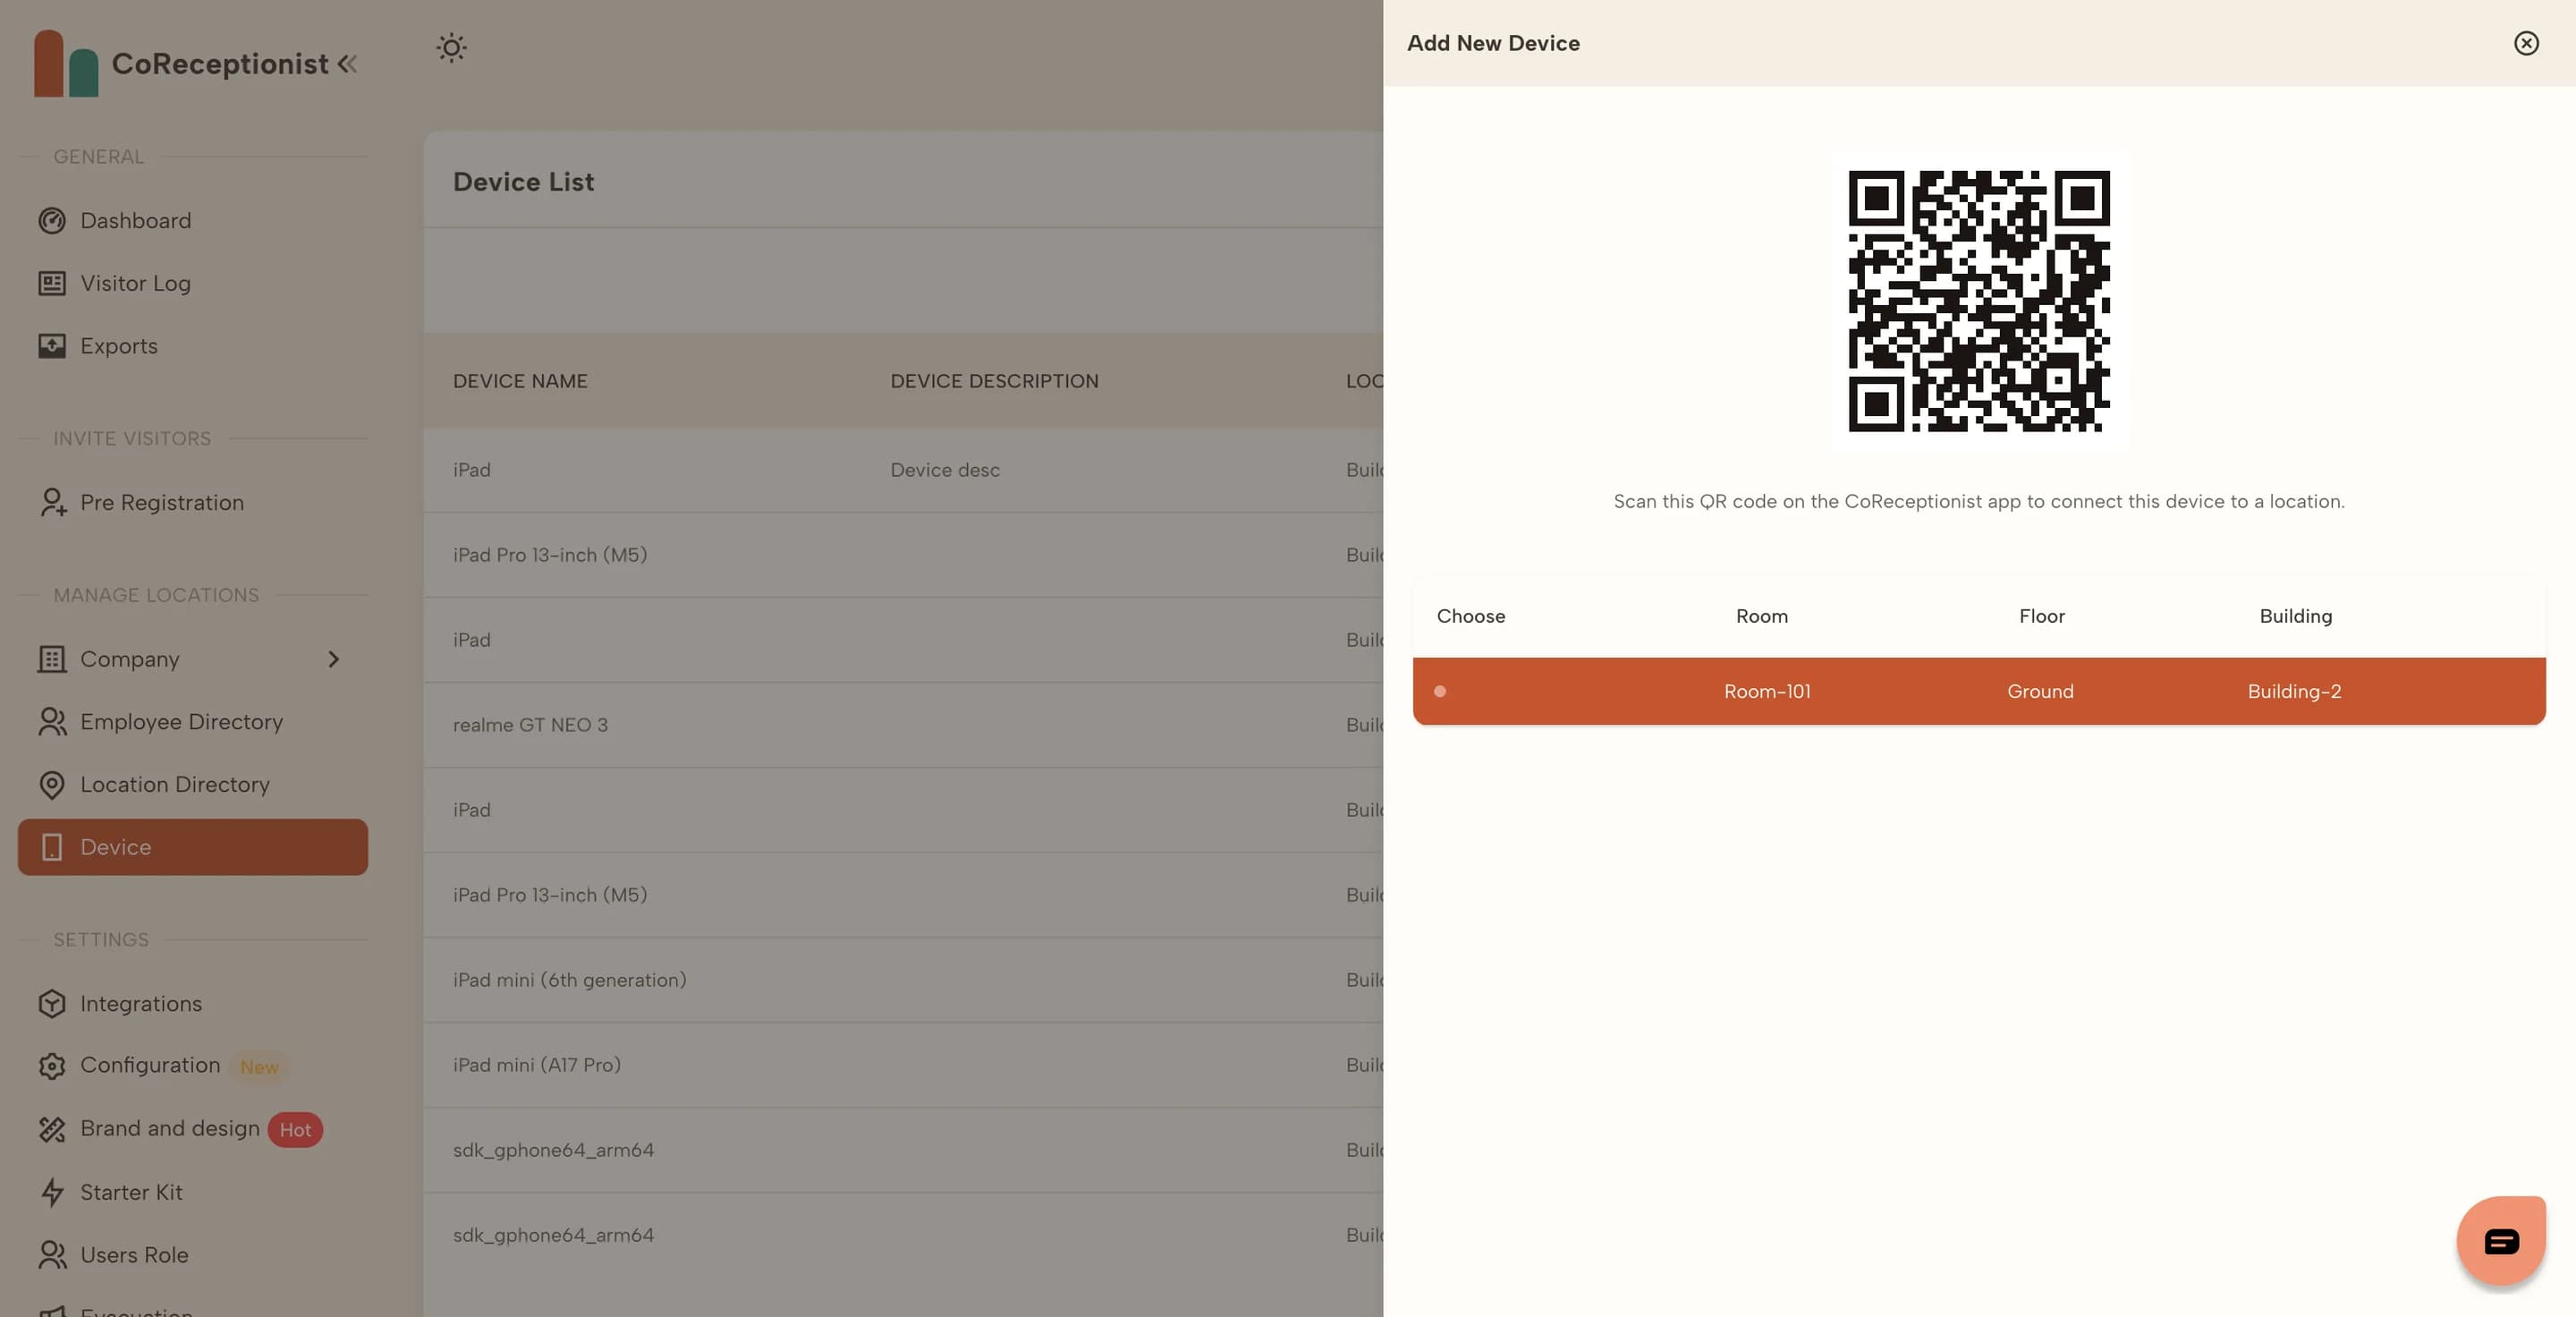
Add the tablet in DeviceOpen Device and choose + Add New Device. In the drawer, choose the location where the tablet will stand — the building, floor and room you added in step 2. A pairing QR code for that location appears.
4
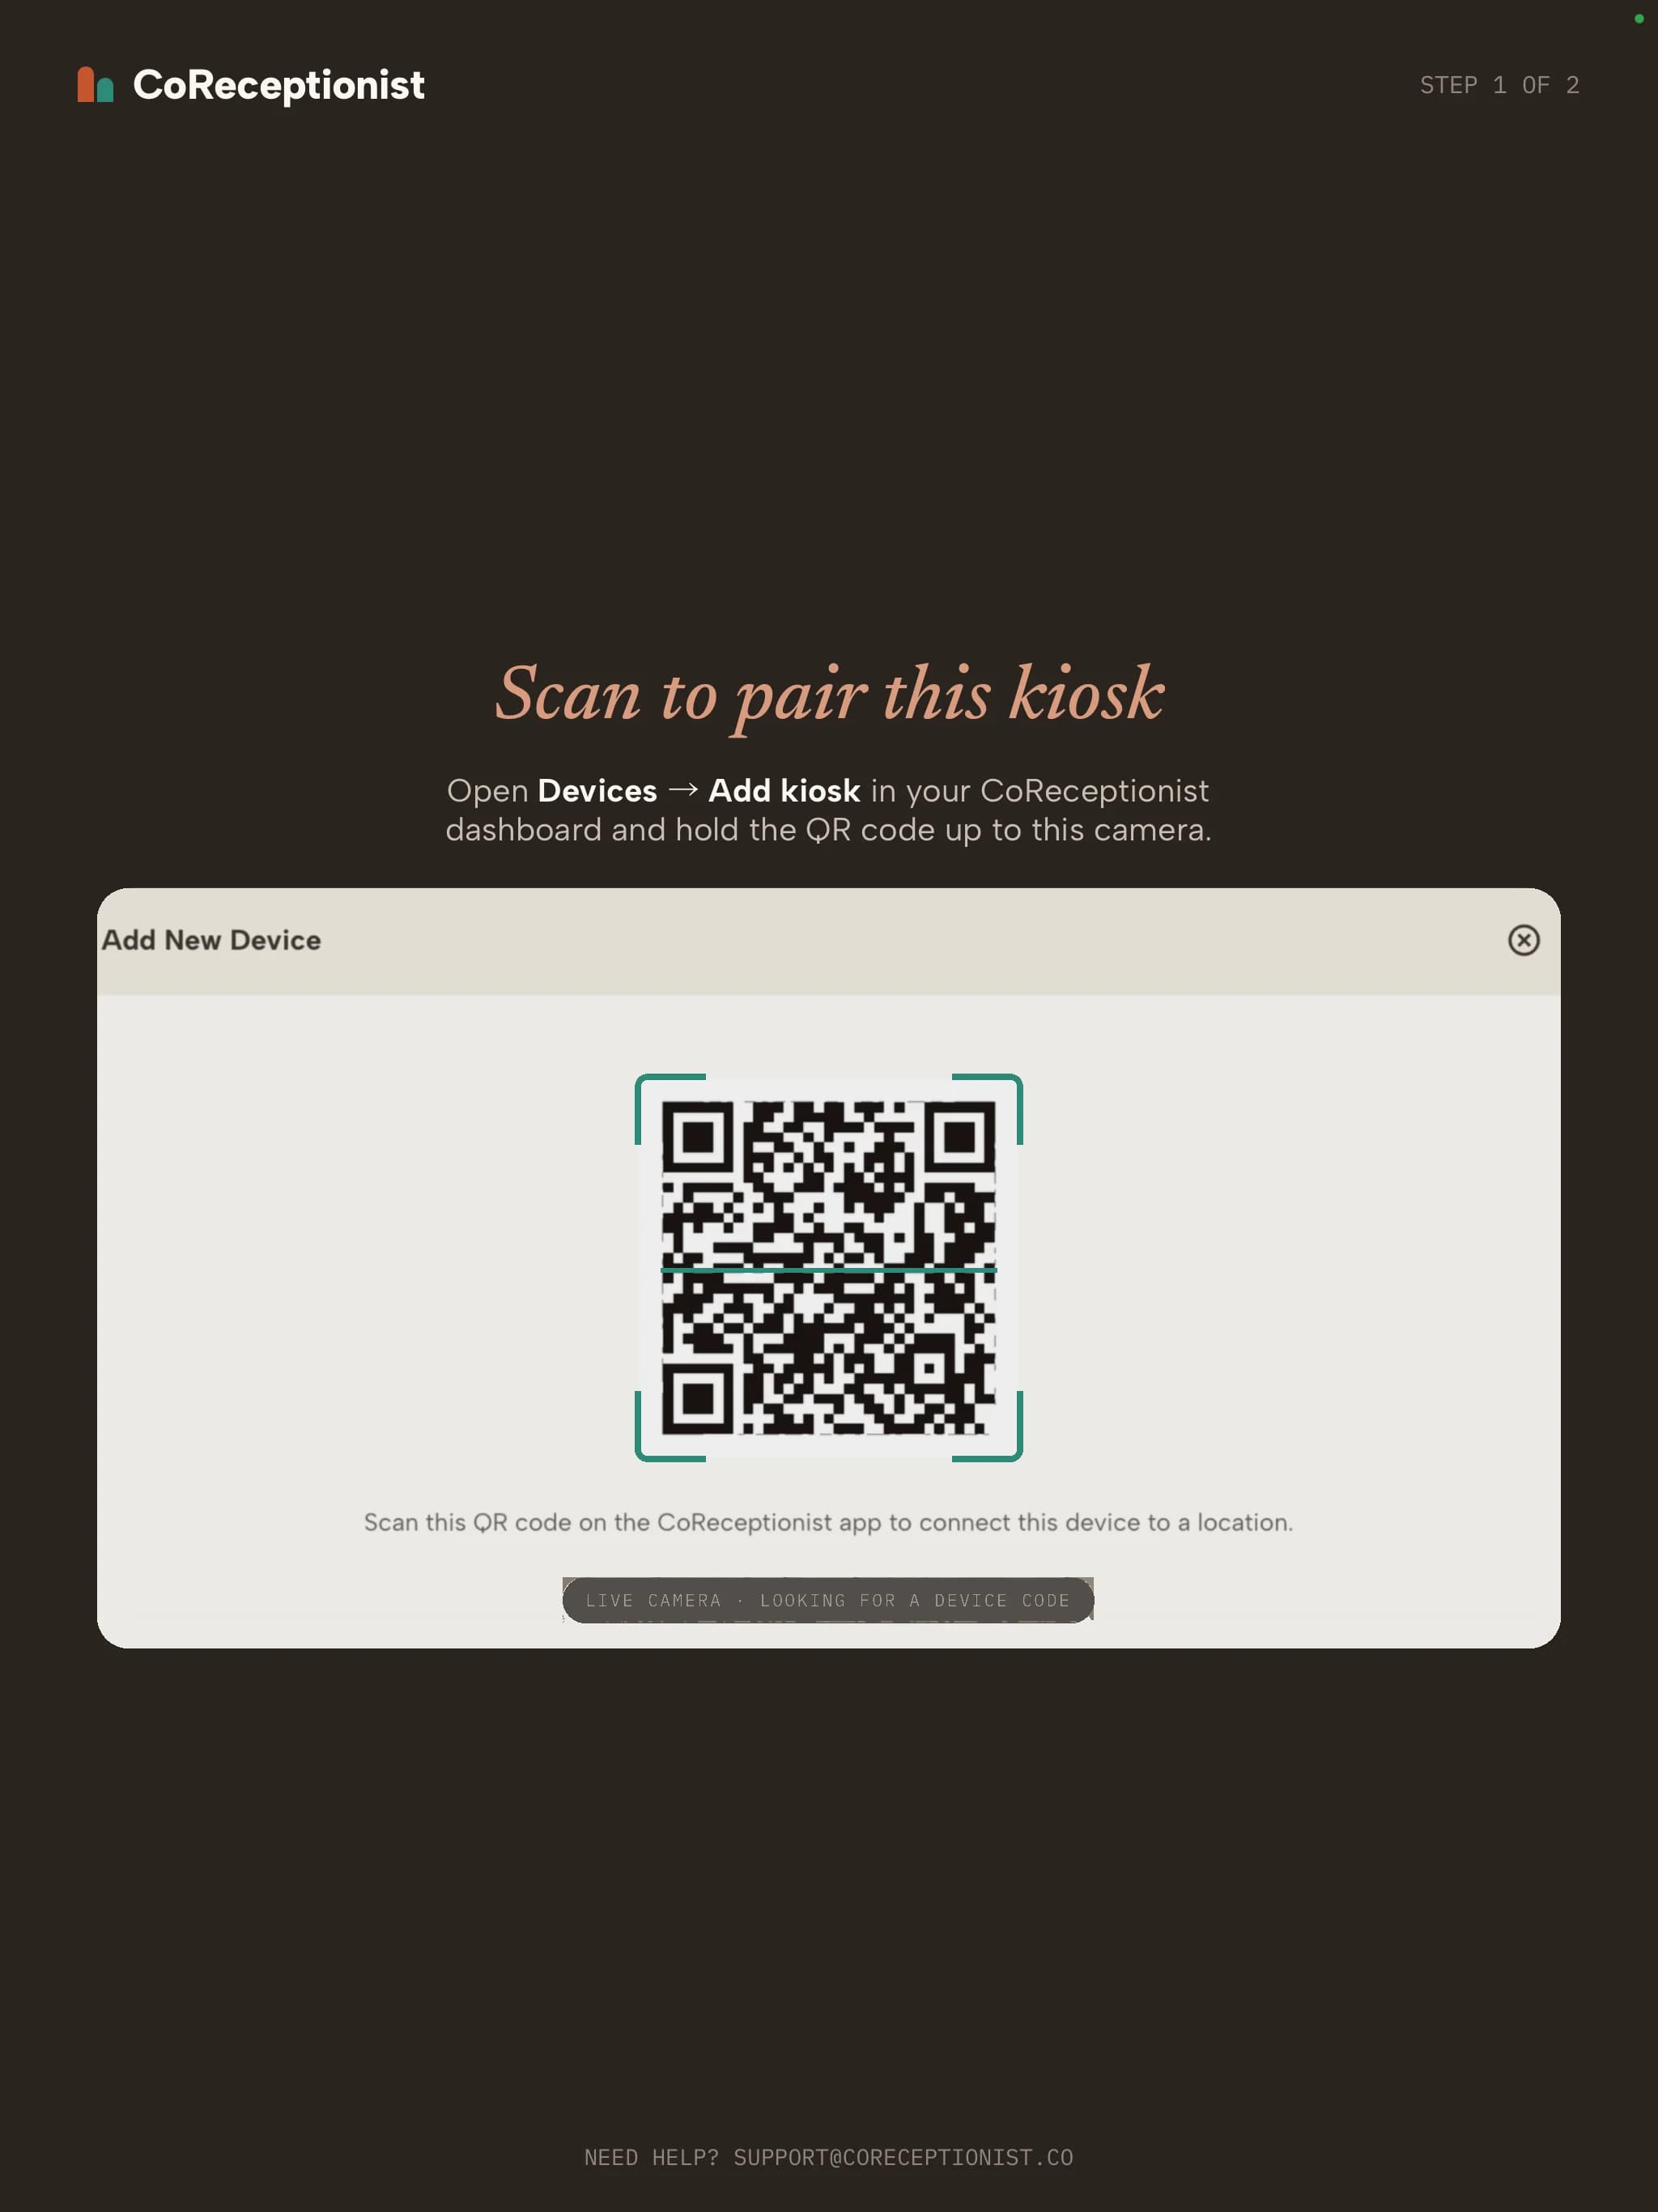
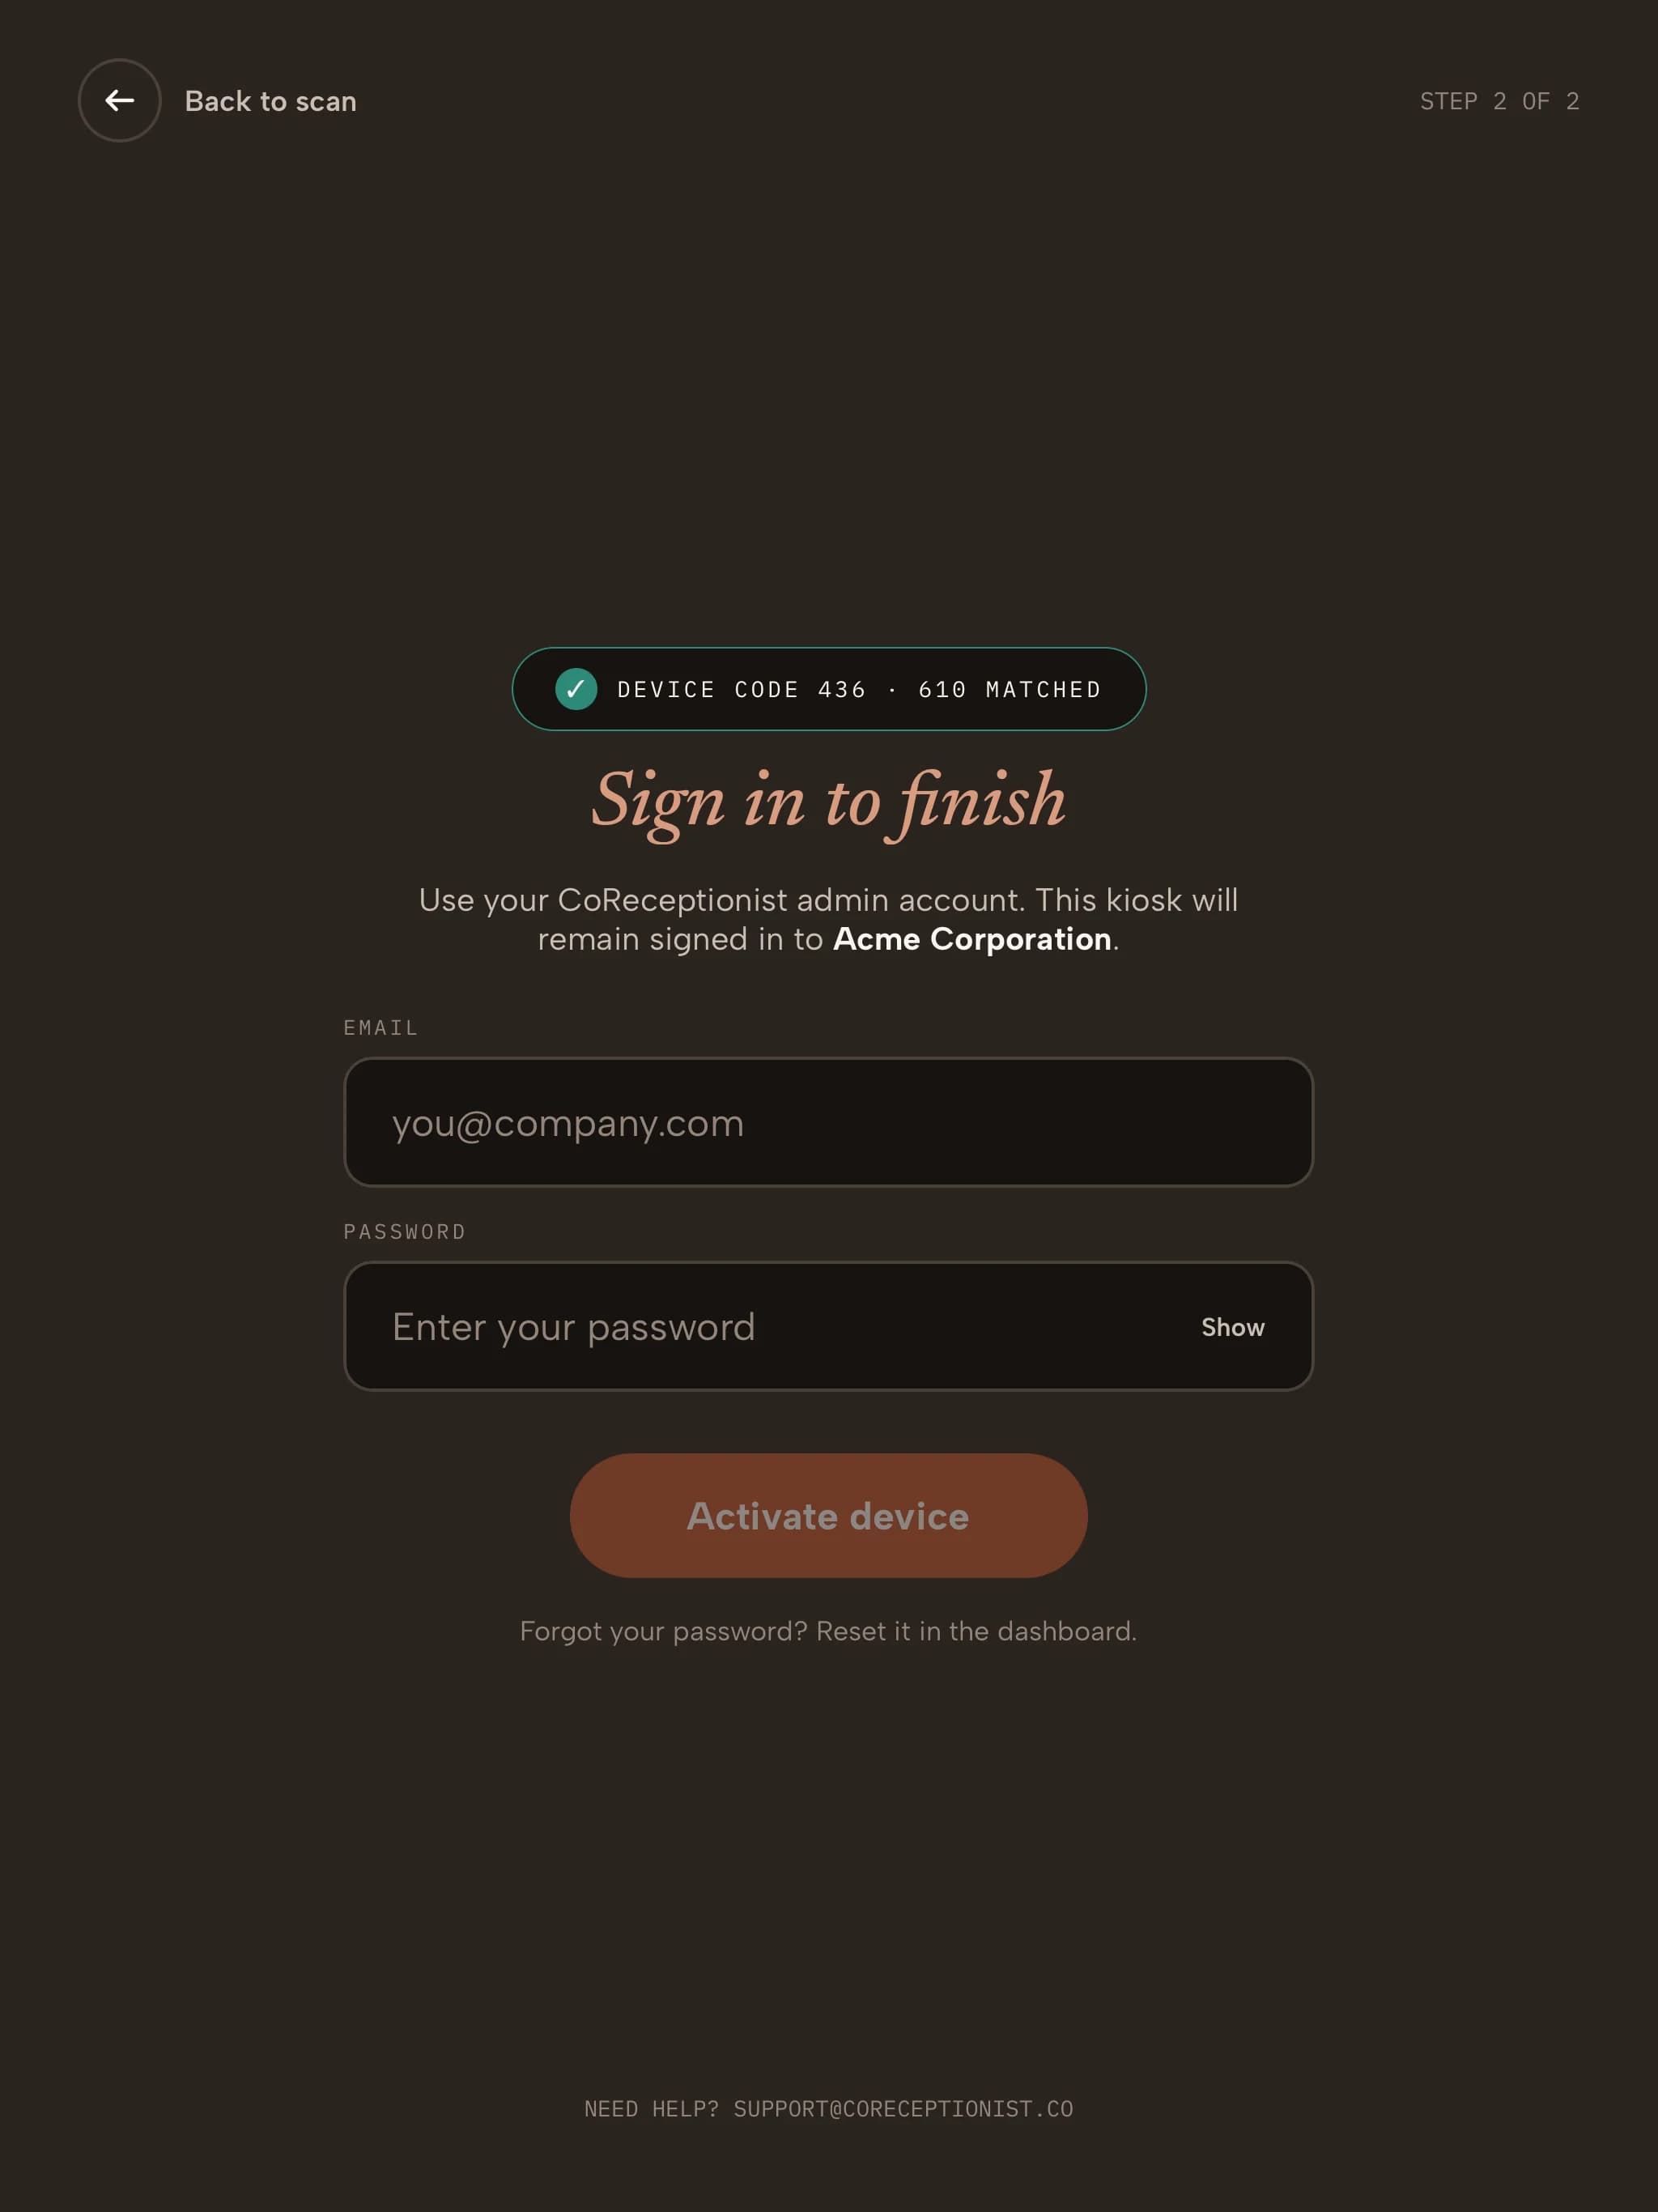
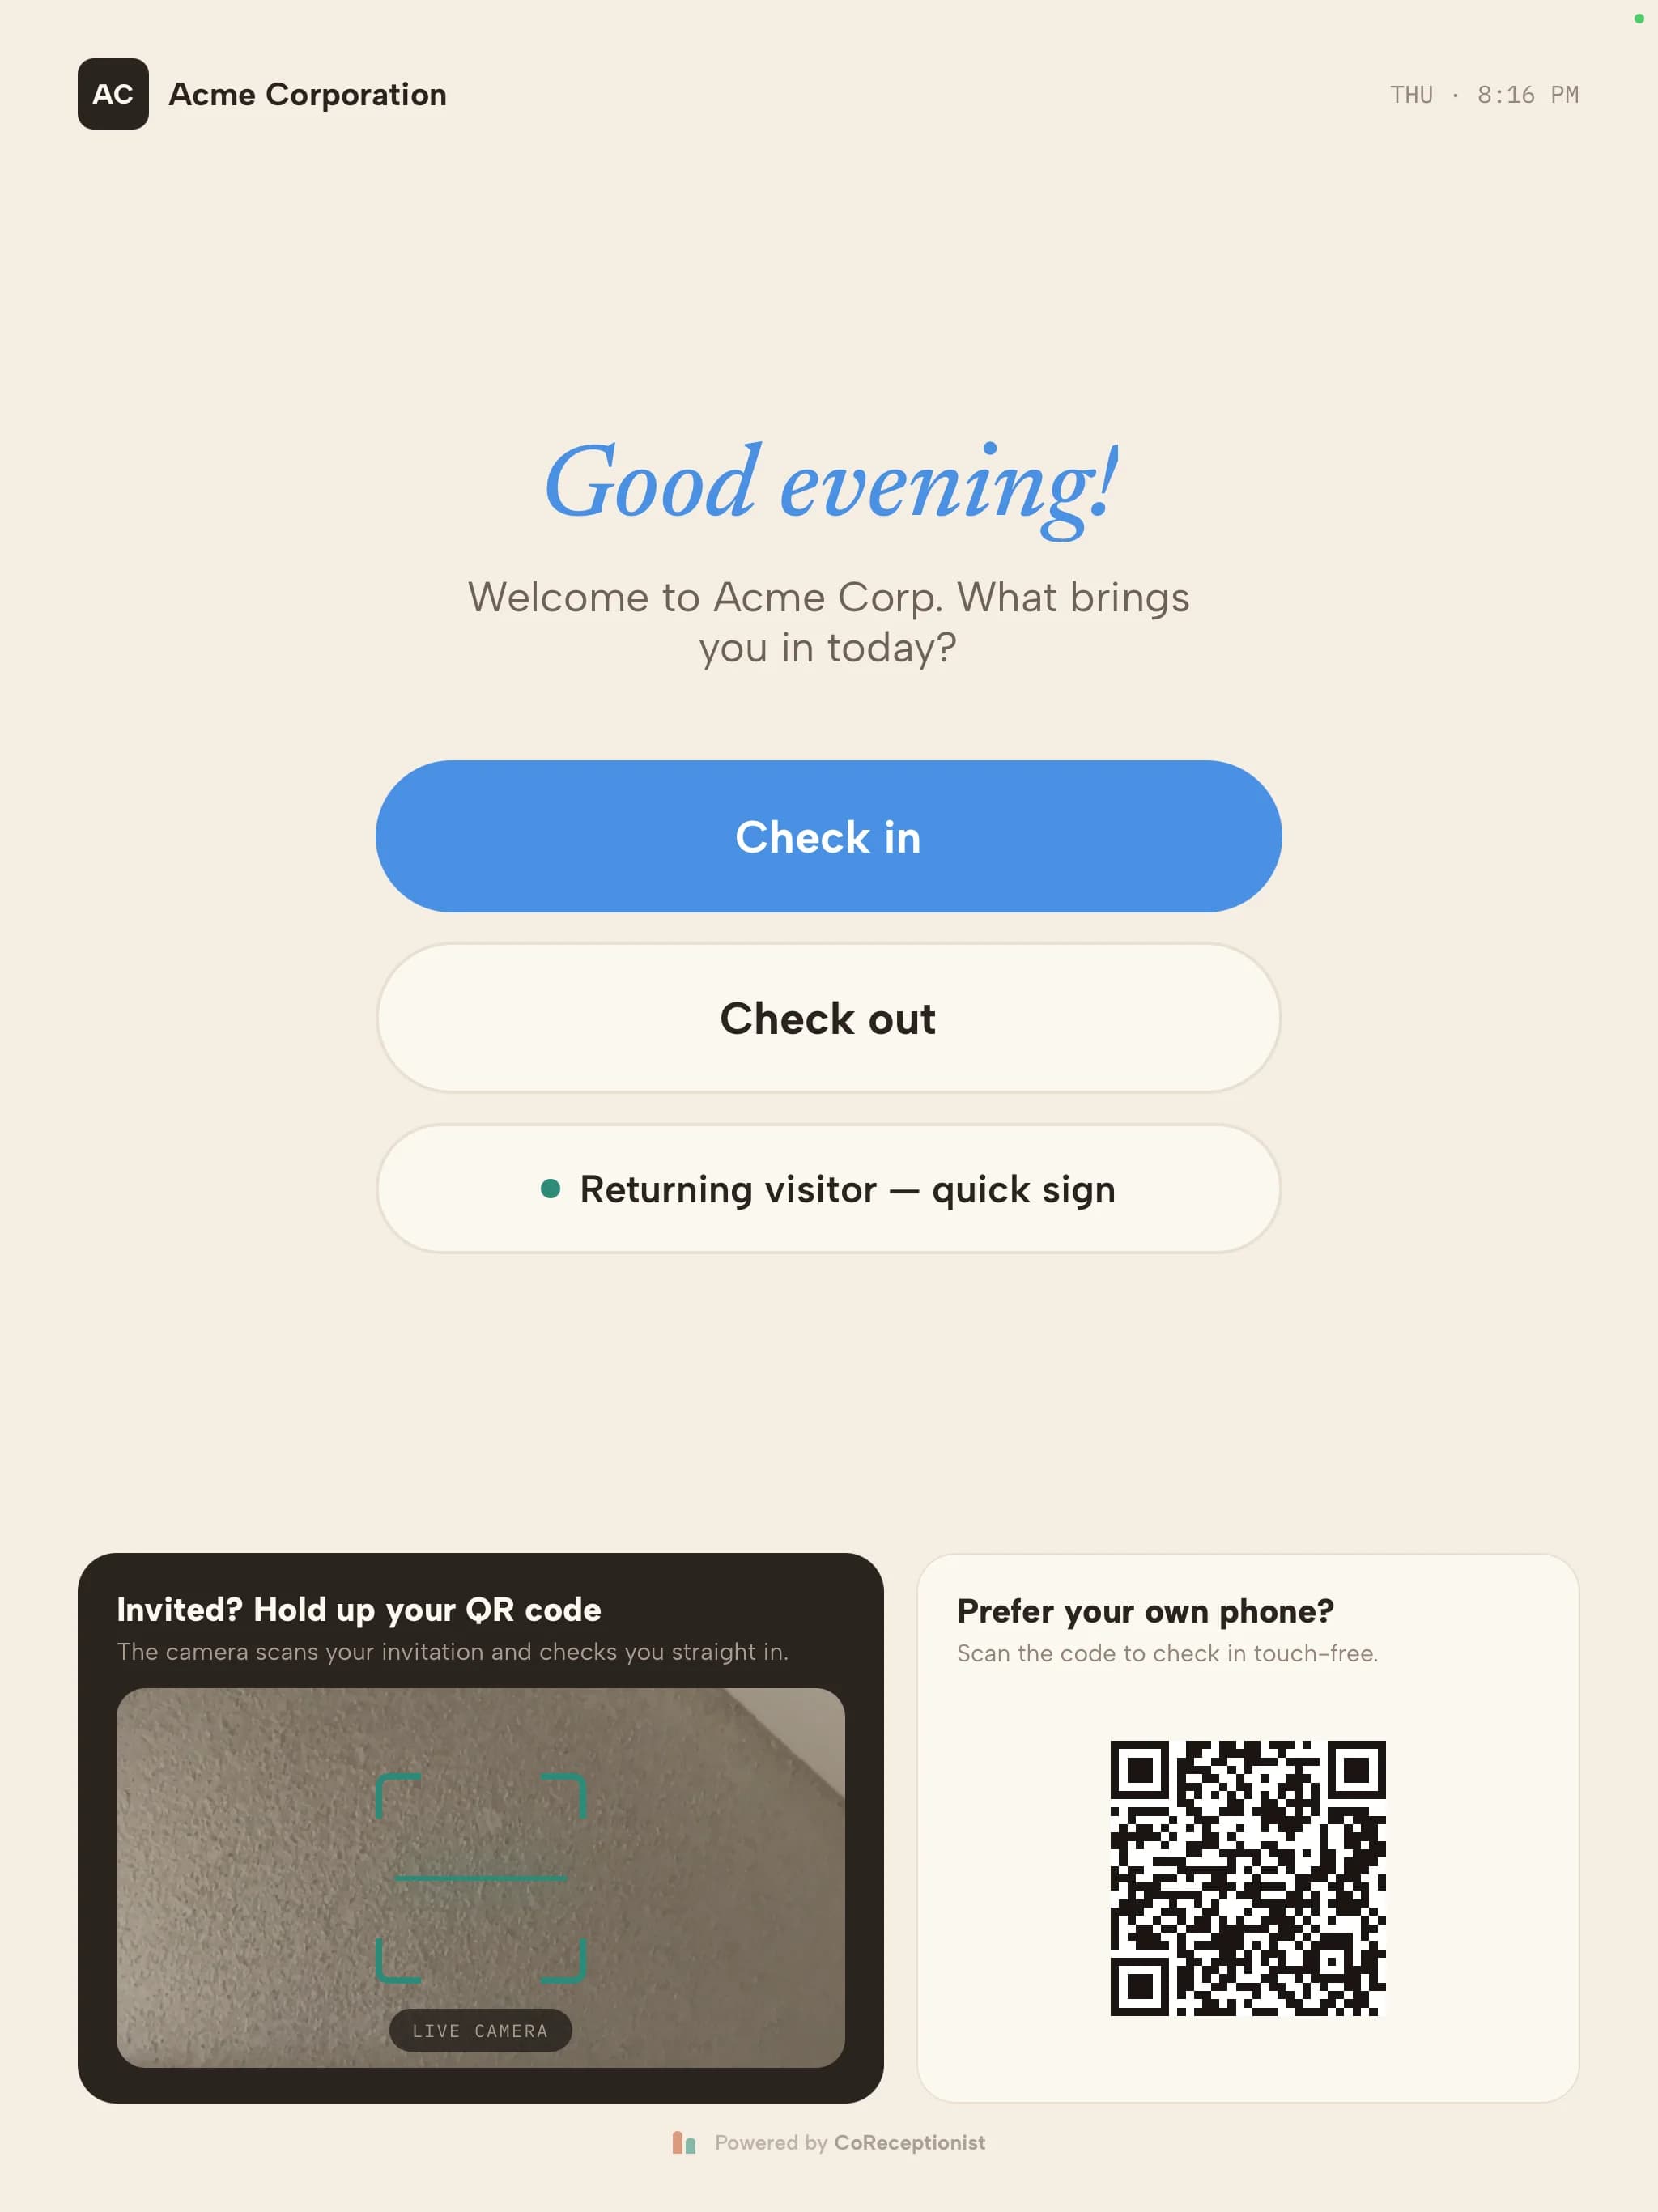
Scan the code and sign in on the tabletInstall and open the CoReceptionist app on the tablet. On Scan to pair this kiosk, hold the tablet's camera up to the QR code in the dashboard. Once the code matches, sign in as the Account Owner or a Location Owner. The kiosk connects to the location you chose and opens the welcome screen — visitors can check in.
1. Scan
2. Sign in
3. Ready
5
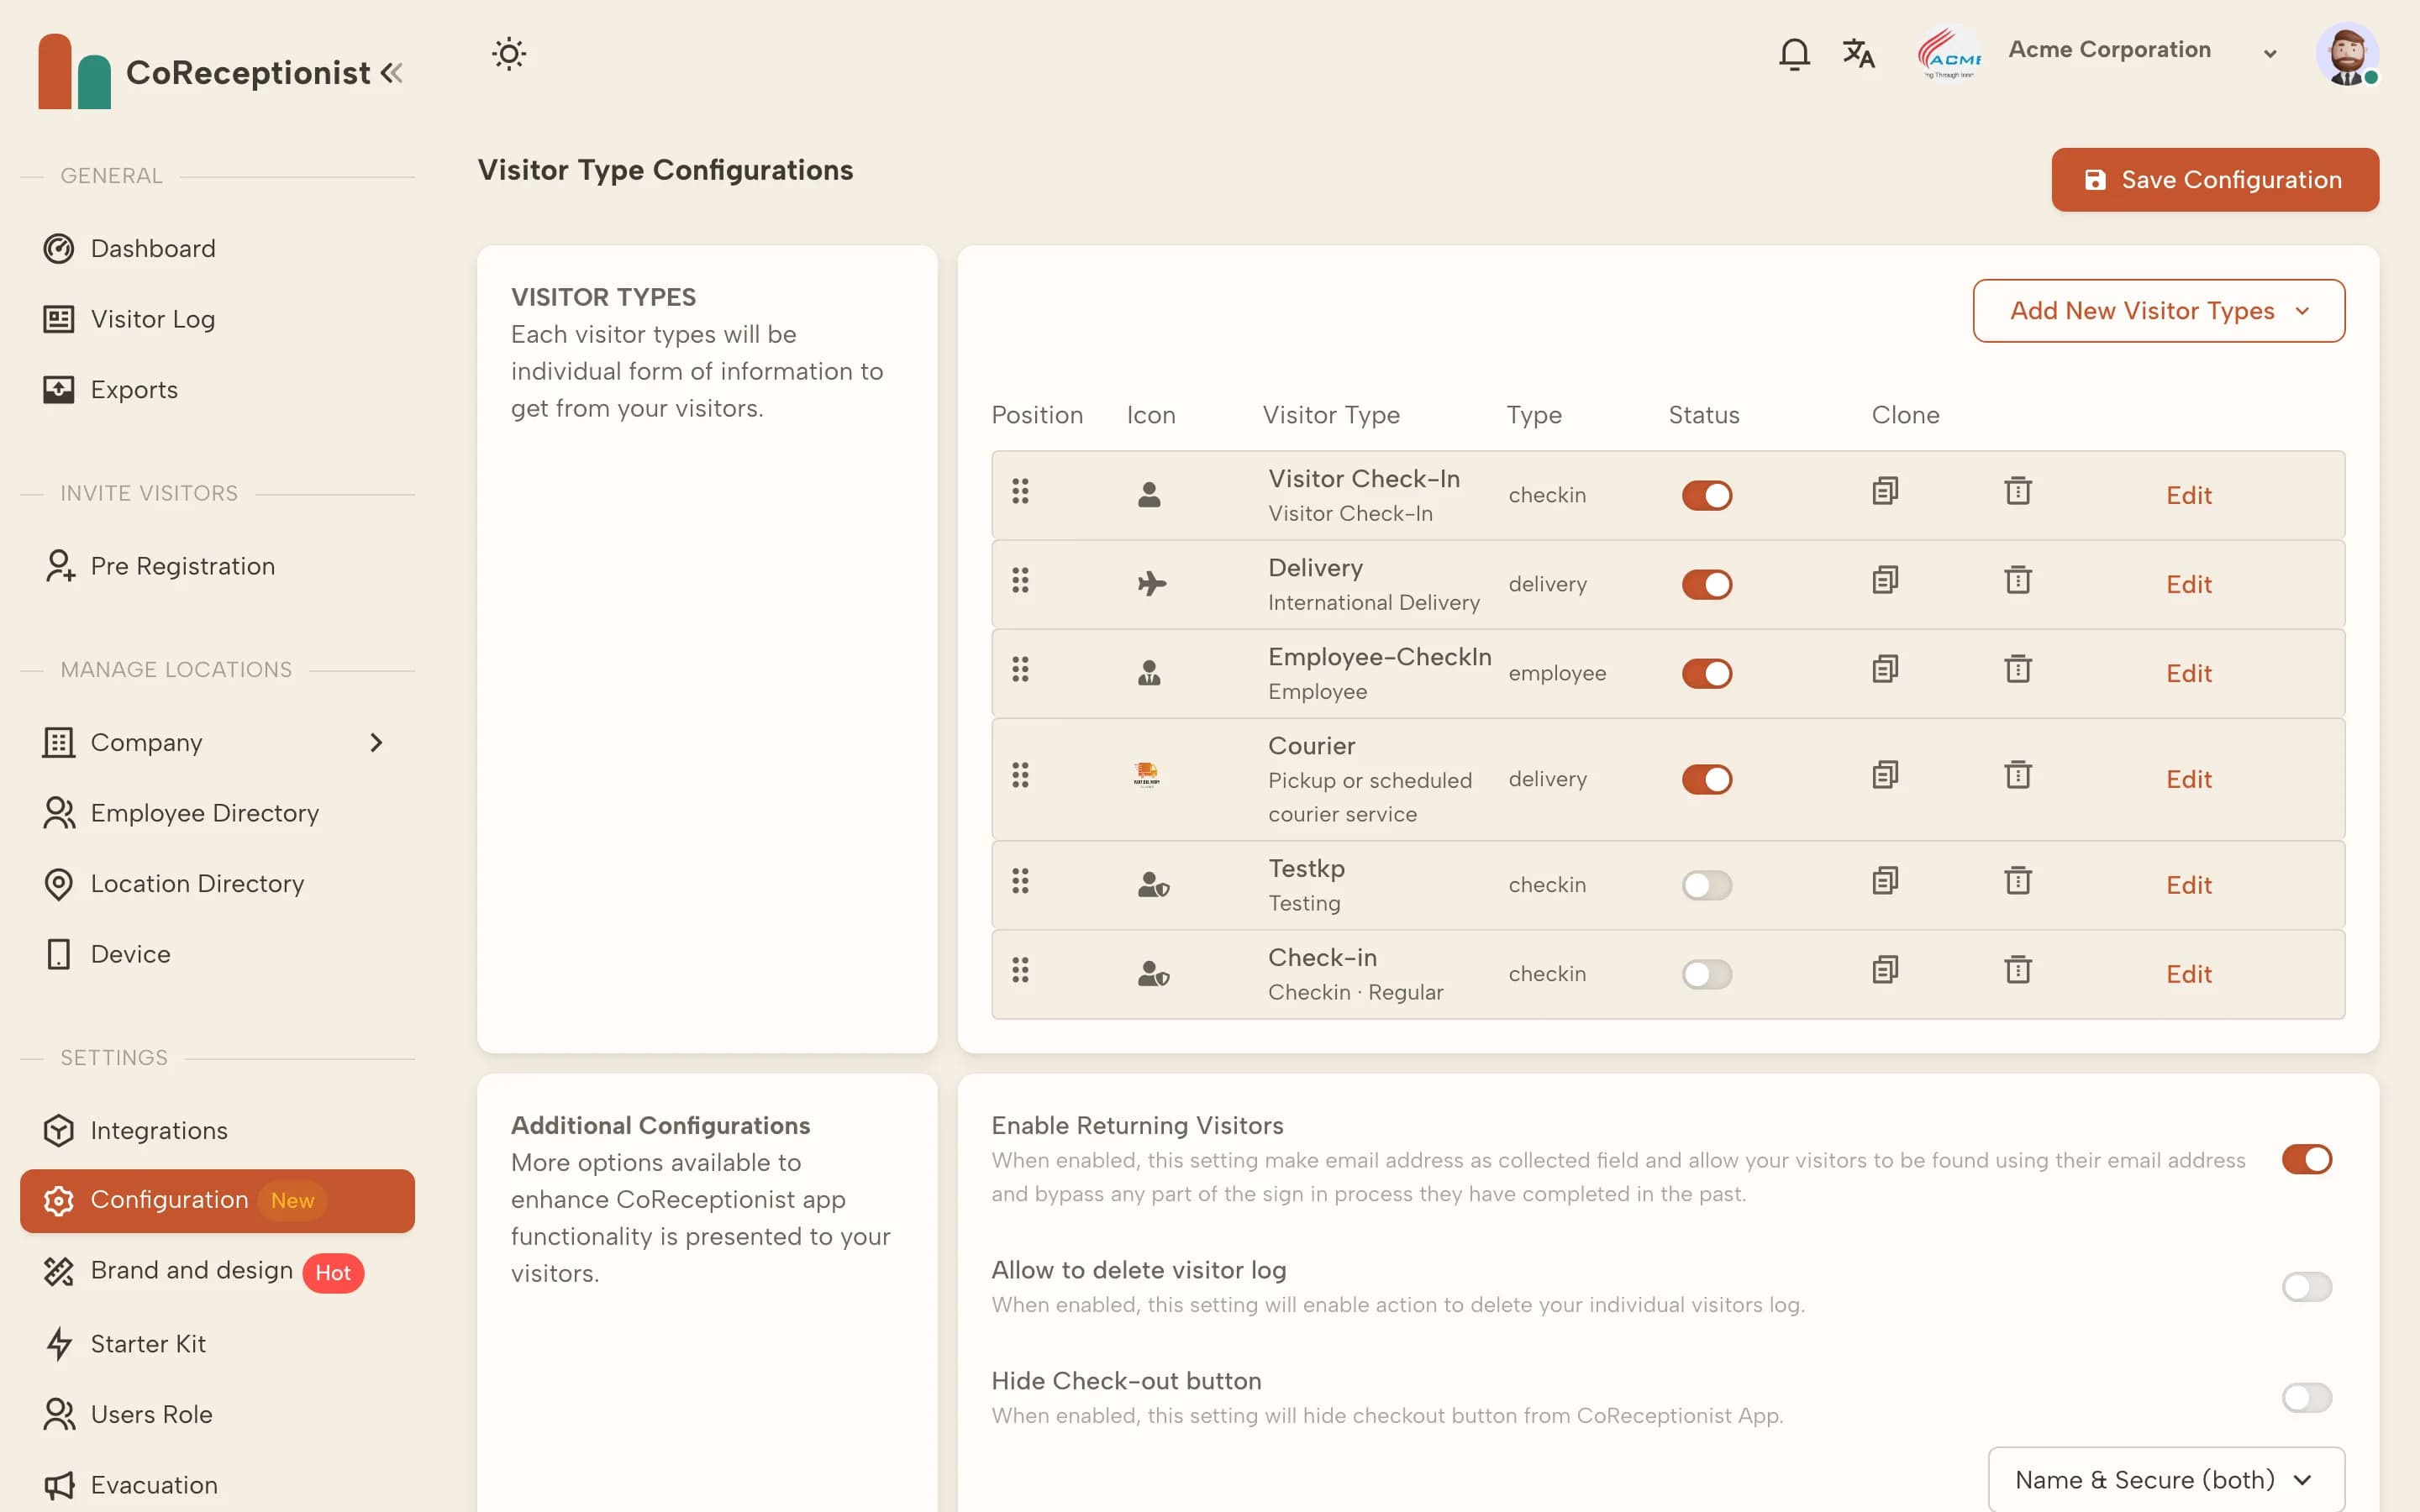
Review your visitor typesOpen Configuration. Each visitor type (Visitor Check-In, Delivery, Employee and any you add) is a button on the kiosk with its own sign-in form, NDA, photo and badge settings.
6
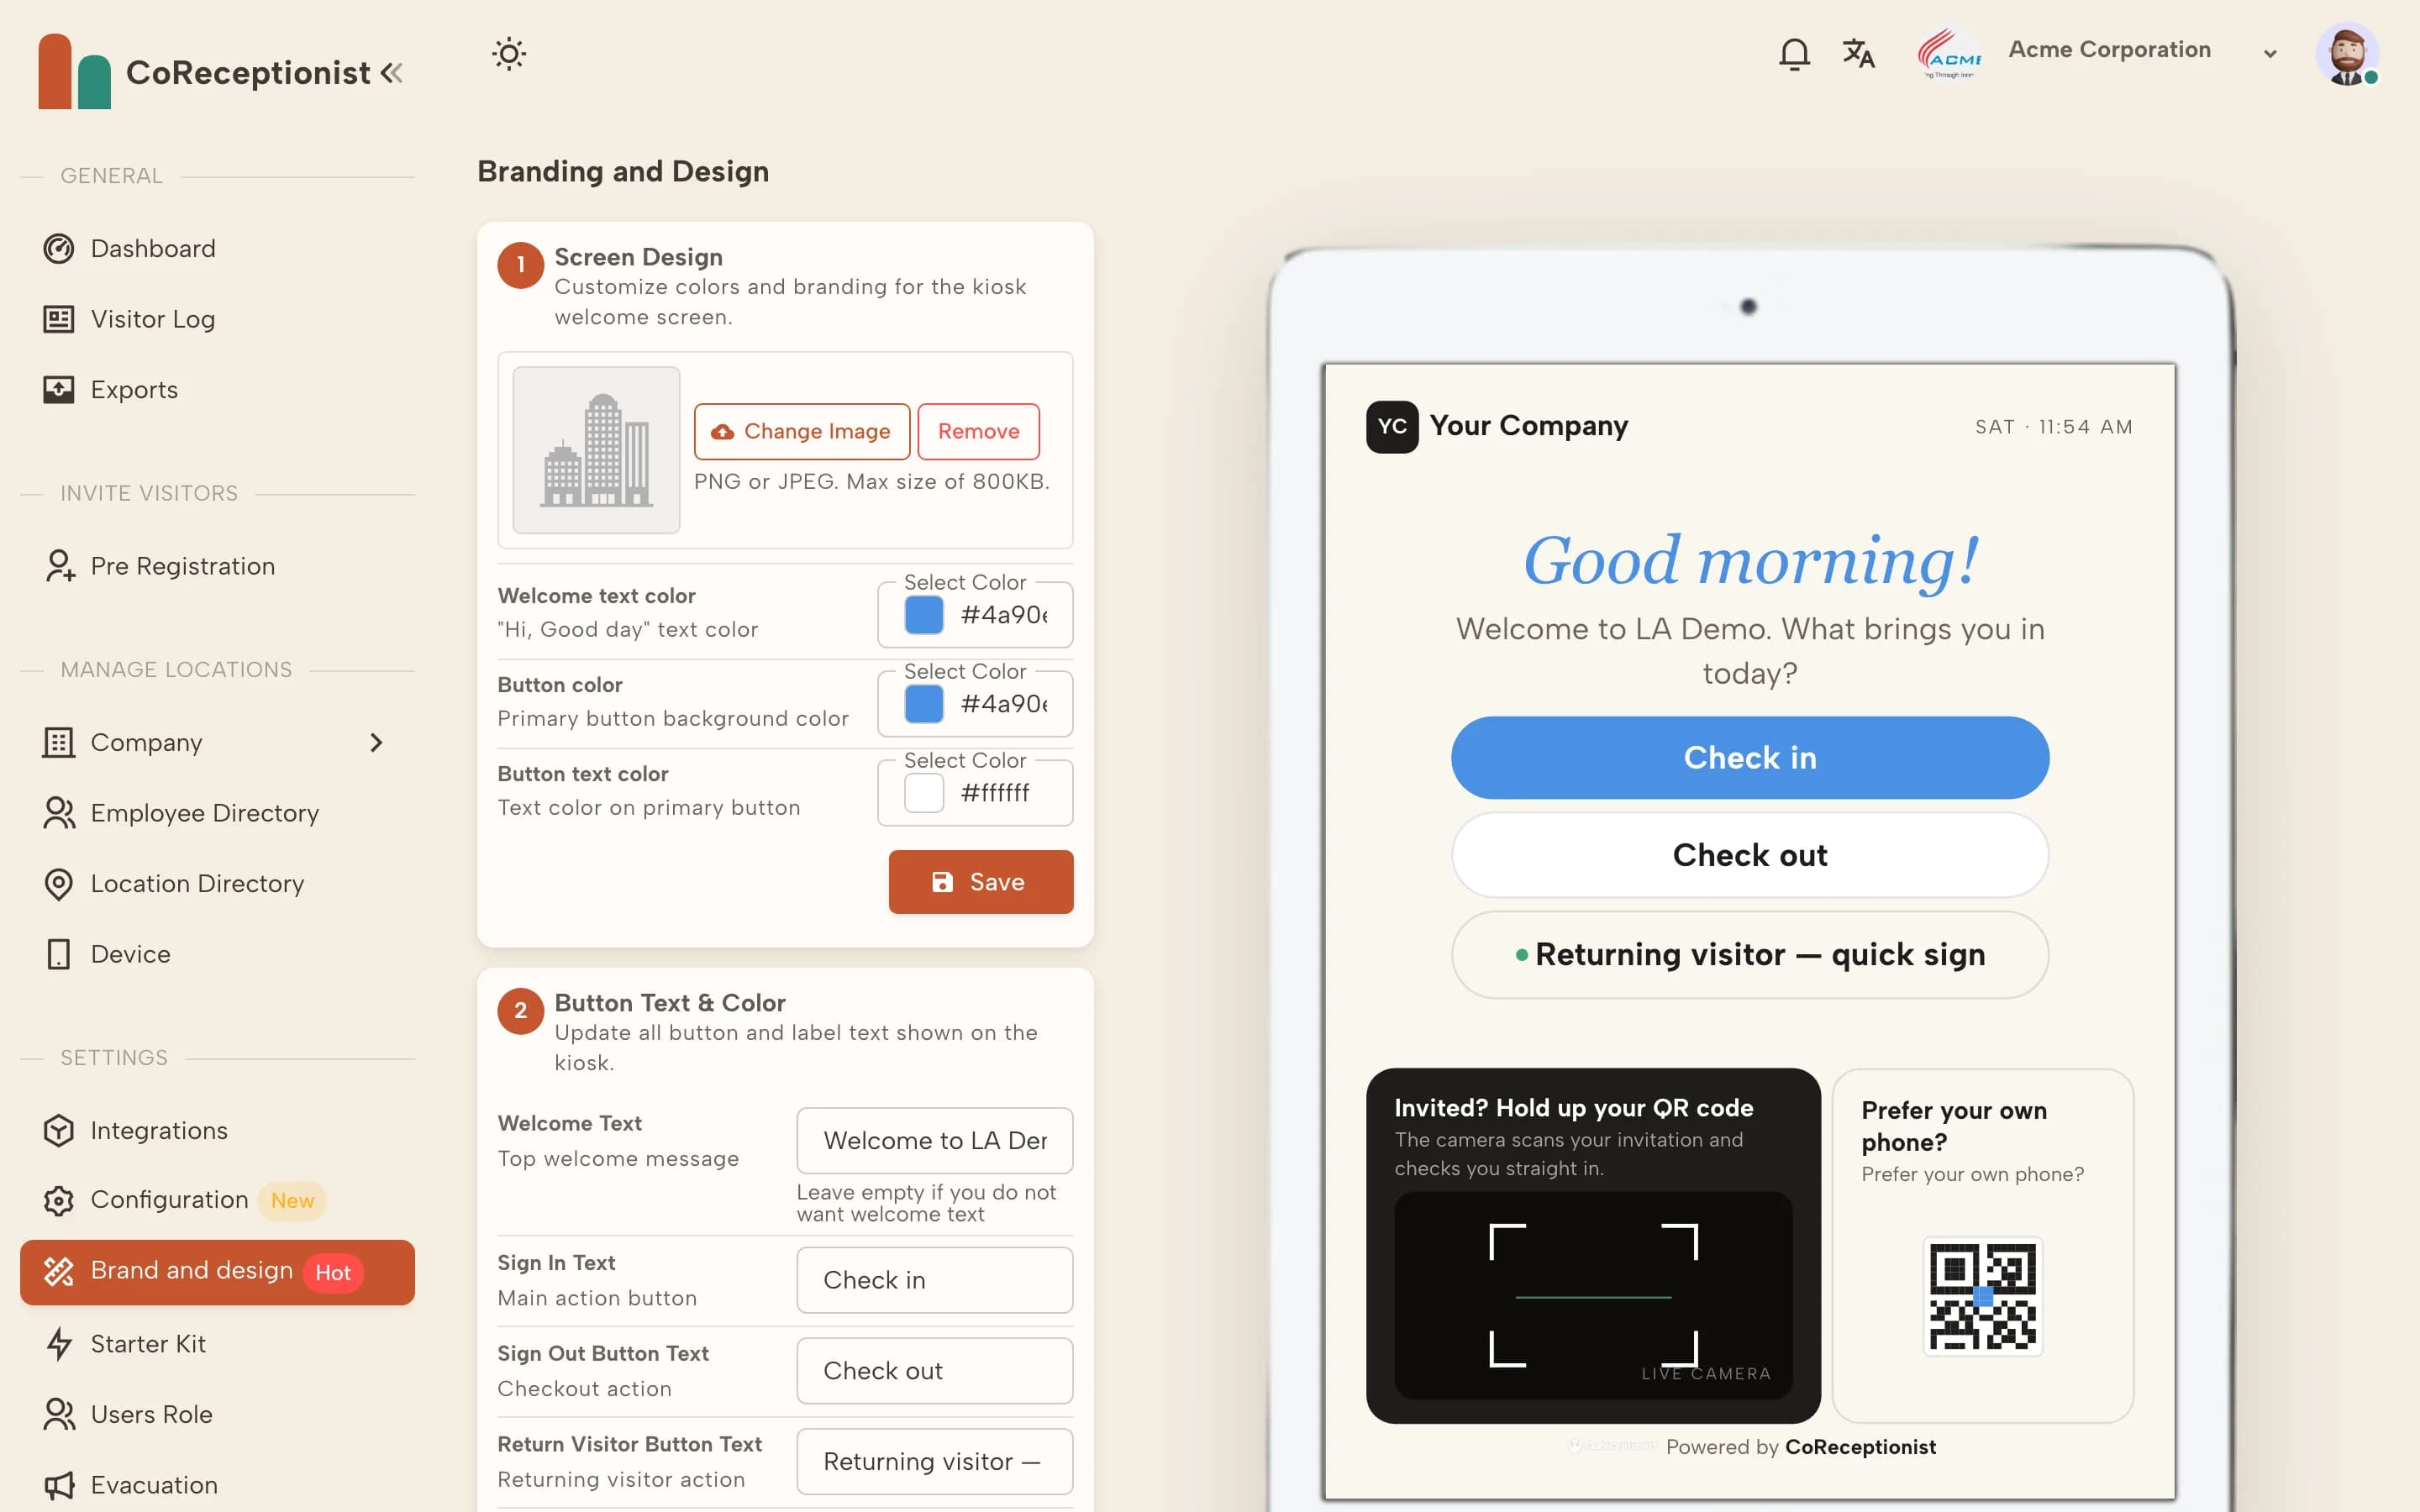
Brand the welcome screenIn Brand and design, upload your logo, set the button colors and edit the welcome text. The kiosk picks up the changes on its next sync.
7
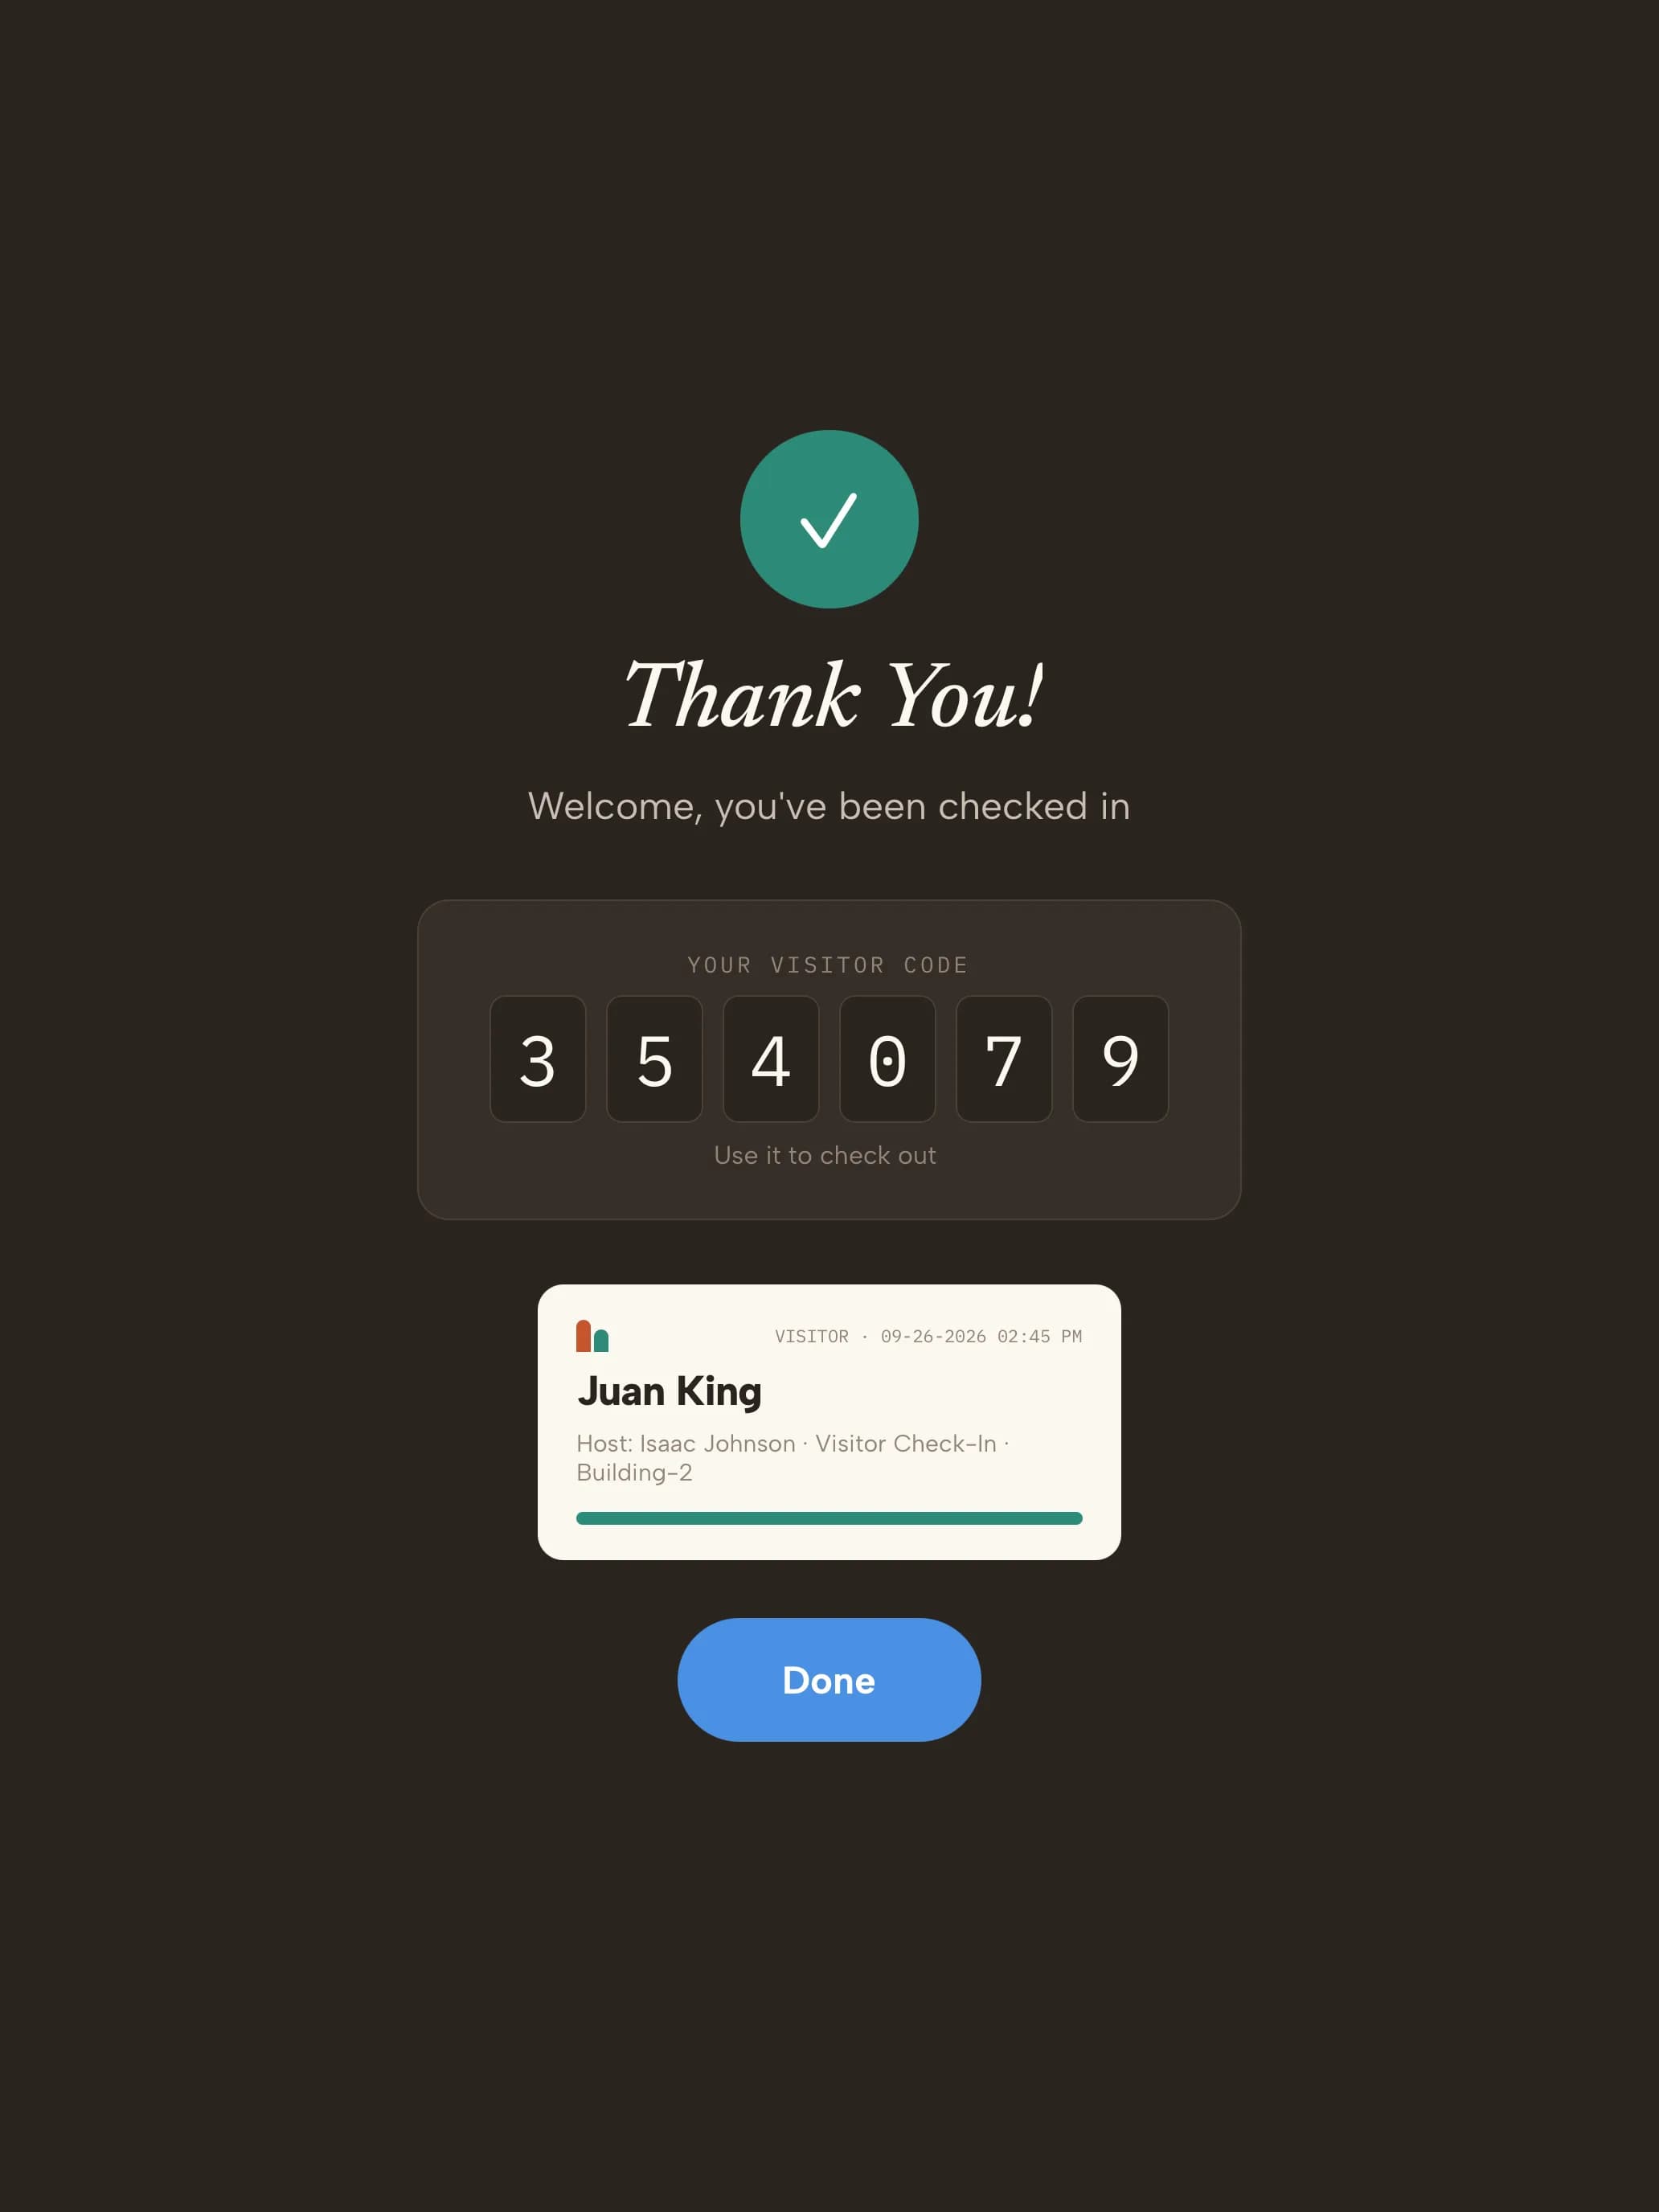
Run a test check-inCheck in as a test visitor. When the Thank You screen shows a visitor code, the host notification has been sent — confirm it arrived.
TIPTap and hold the company name or logo on the kiosk's welcome screen for 5 seconds to open the kiosk admin screens.